How to Clean Your Makeup Brushes (and Why It Matters)
Let’s be honest—when was the last time you actually cleaned your makeup brushes? If you had to stop and think about it (or worse, can’t remember at all), you’re definitely not alone. Cleaning makeup brushes is one of those beauty tasks that’s easy to put off, but trust me, it’s worth making time for.
Your brushes work hard to help you create those flawless makeup looks, so they deserve a little TLC. Plus, dirty brushes aren’t just gross—they can actually mess with your skin and your makeup application. Let’s talk about why clean brushes matter and how to get them squeaky clean without it feeling like a huge chore.
Why You Really Need to Clean Your Makeup Brushes
Before we get into the how, let’s talk about the why. Because if you’re going to add another step to your routine, you deserve to know what’s in it for you.
Your skin will thank you. Every time you use a makeup brush, it picks up oil, dead skin cells, bacteria, and leftover product. When you use that same dirty brush again, you’re basically transferring all that gunk right back onto your face. This can clog your pores, cause breakouts, and irritate your skin. If you’ve been dealing with stubborn acne or random breakouts, your brushes might be part of the problem.
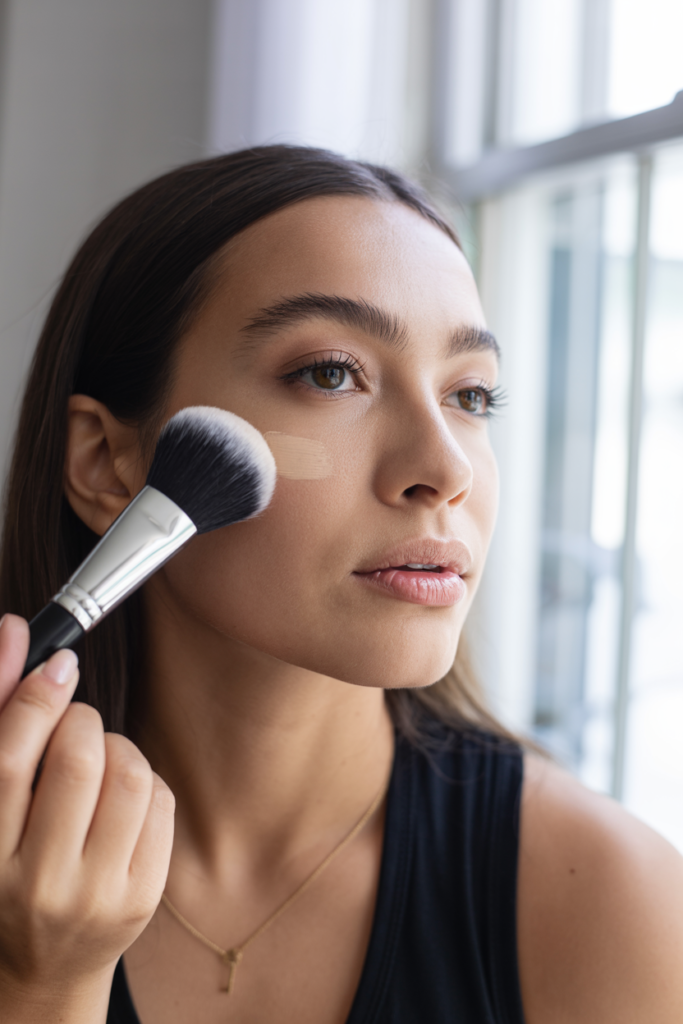
Your makeup will look better. Clean brushes = better makeup application. It’s that simple. When brushes are caked with old foundation or eyeshadow, they can’t pick up and deposit product properly. You’ll notice your foundation looks streaky, your eyeshadow isn’t blending smoothly, and you’re going through product way faster than you should be. Clean brushes give you that smooth, professional finish you’re going for.
Your brushes will last longer. Good makeup brushes aren’t cheap, so you want them to last. Product buildup can break down the bristles over time, making them stiff, scratchy, or prone to shedding. Regular cleaning keeps the bristles soft and in good shape, which means you won’t have to replace your brushes as often.
How Often Should You Clean Your Brushes?
Here’s the deal: the ideal schedule depends on how often you use your brushes and what you’re using them for.
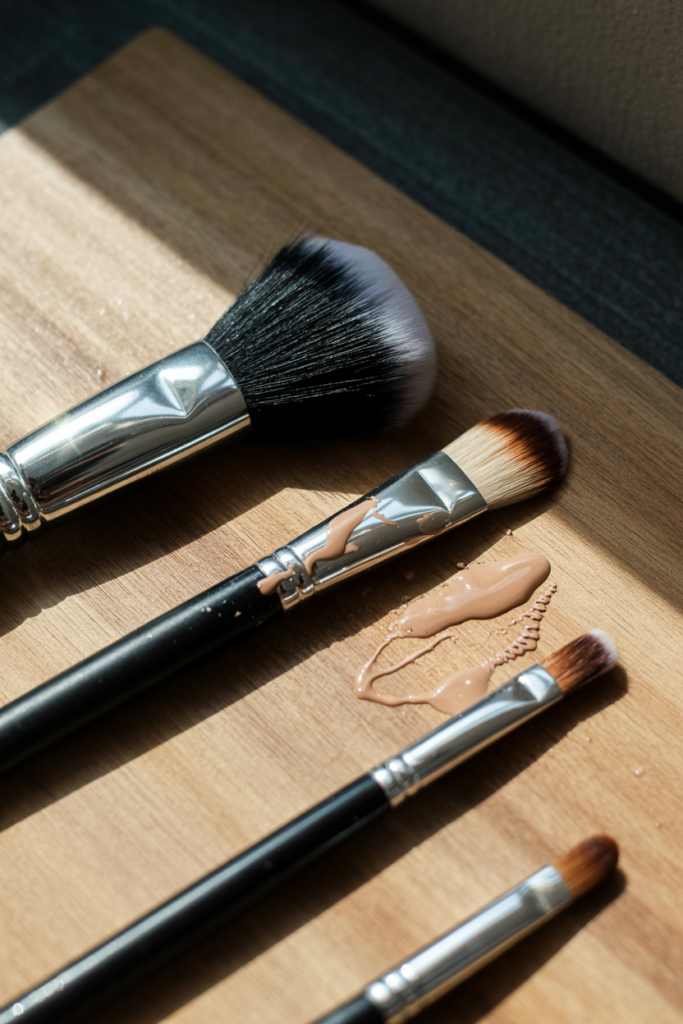
Face brushes (foundation, blush, bronzer) should be cleaned once a week if you use them daily. These brushes come into contact with liquid or cream products and your entire face, so they pick up a lot of bacteria and oil.
Eye brushes can usually go a bit longer—aim for every two weeks if you use them regularly. However, if you’re dealing with an eye infection or irritation, clean them immediately and more frequently until it clears up.
Brushes you use with wet products (like foundation or concealer brushes) need more frequent cleaning than powder brushes, since moisture creates the perfect environment for bacteria to thrive.
Between deep cleans, you can do a quick daily cleanse with a brush cleaning spray, especially for brushes you use with different colors. This prevents muddy eyeshadow looks and keeps things relatively hygienic until your next proper wash.
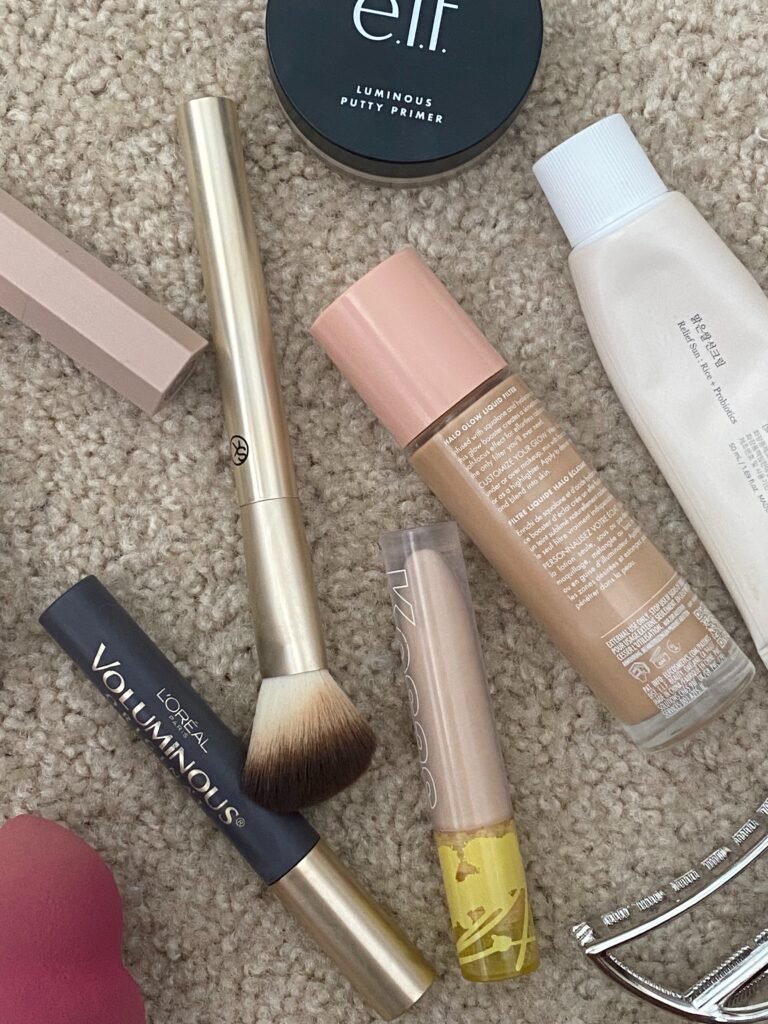
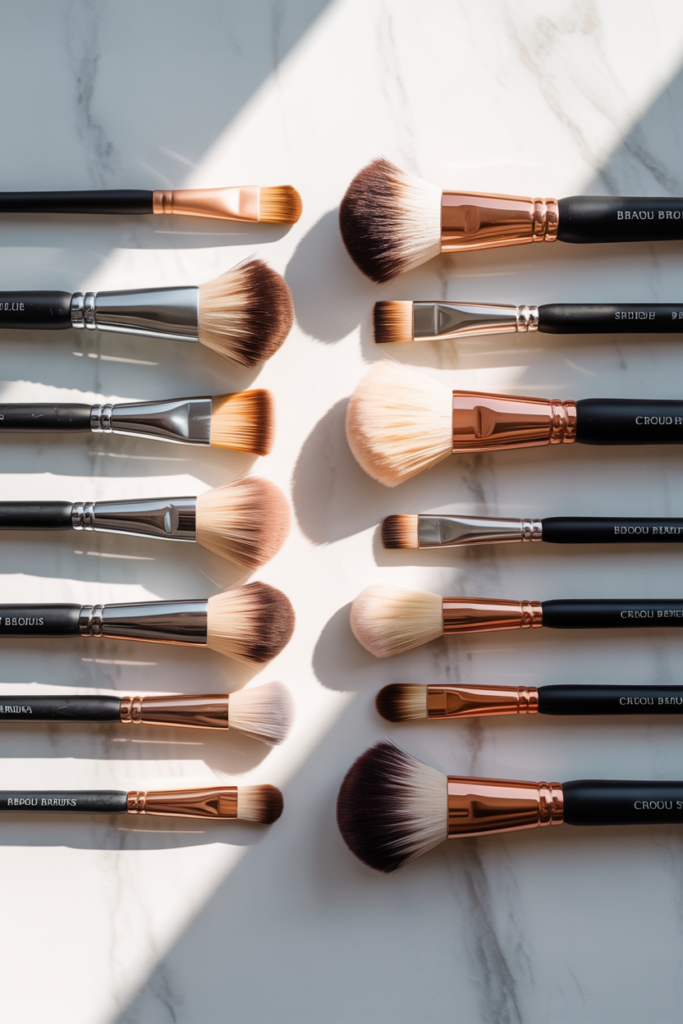
What You’ll Need to Clean Your Brushes
The good news? You probably already have most of what you need at home. Here’s what to gather:
A gentle cleanser is the most important thing. You can use a dedicated brush cleanser, baby shampoo, or even a gentle facial cleanser. The key is to avoid anything too harsh that will dry out the bristles. If you want a solid brush cleaner specifically designed for makeup brushes, the Cinema Secrets Makeup Brush Cleaner works amazingly well and dries super fast.
You’ll also want a clean towel, a brush cleaning mat or textured silicone pad (totally optional but makes the job easier), and lukewarm water. That’s it!
If you want to level up your brush cleaning game, a Sigma Spa Express Brush Cleaning Mat gives you different textures to really work the soap through the bristles and is gentle enough that it won’t damage them.
Step-by-Step: How to Deep Clean Your Makeup Brushes
Ready to get those brushes sparkling? Here’s exactly how to do it:
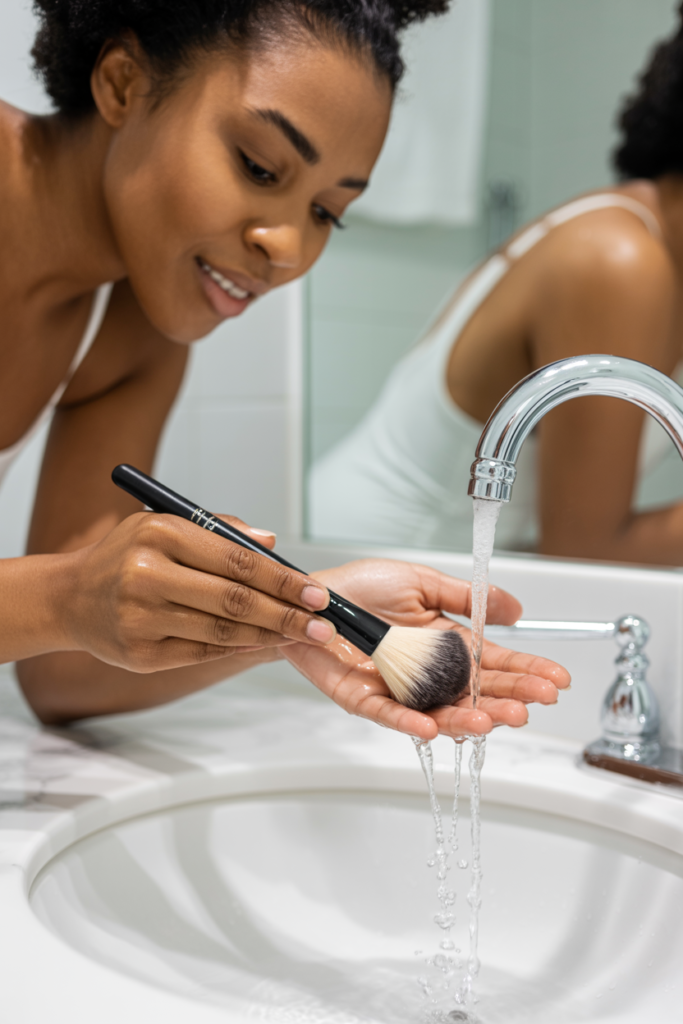
Step 1: Wet the bristles. Hold your brush under lukewarm running water with the bristles pointing downward. Keep the water away from the ferrule (that’s the metal part that holds the bristles) as much as possible. Getting water up in there can loosen the glue and cause your brush to fall apart over time. Nobody wants that.
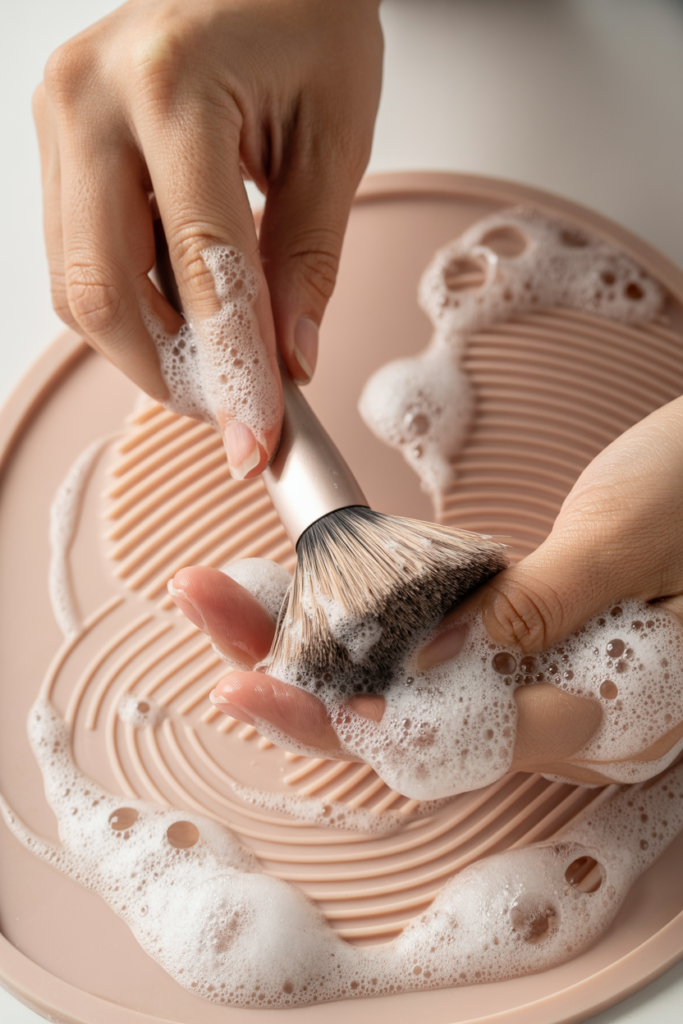
Step 2: Apply your cleanser. Put a small amount of your chosen cleanser in the palm of your hand or on a cleaning mat. Gently swirl the brush in the cleanser, working it through the bristles. You’ll probably be shocked (and maybe a little grossed out) by how much makeup comes out, especially the first time you do this.
Step 3: Really work it in. Keep swirling and massaging the bristles until the water runs clear. For stubborn buildup, you can use your fingers or a textured cleaning mat to really get in there. Just be gentle—you’re cleaning, not scrubbing a pot.
Step 4: Rinse thoroughly. Rinse the brush under lukewarm water, continuing to point the bristles downward. Keep rinsing and gently squeezing the bristles until the water runs completely clear and there’s no soap left. Leftover soap can irritate your skin and make the bristles stiff.
Step 5: Squeeze out excess water. Gently squeeze the bristles with a clean towel to remove excess water. Don’t twist or pull on them—just a gentle squeeze will do the trick.
Step 6: Reshape and dry. Reshape the bristles to their original form with your fingers. Lay your brushes flat on a clean towel with the bristles hanging off the edge of your counter or table. This allows air to circulate around them and prevents water from seeping into the ferrule. Never dry your brushes standing upright in a cup—water will run down into the handle and loosen the glue.
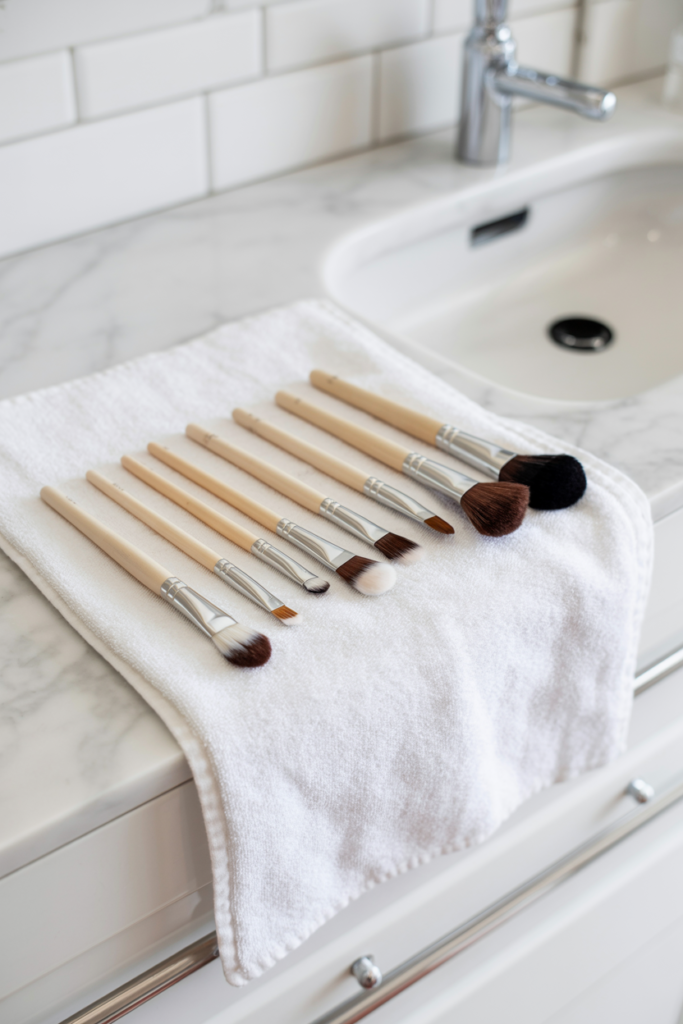
Let them dry completely before using them again. This usually takes anywhere from a few hours to overnight, depending on the size and density of the brush.
Quick Cleaning Between Deep Cleans
For those days when you need to switch colors but don’t have time for a full wash, a brush cleaning spray is your best friend. Simply spray it onto a clean towel or paper towel, swirl your brush on it until the color is removed, and you’re good to go.
The EcoTools Makeup Brush Cleansing Shampoo is great for this—it works quickly and conditions the bristles at the same time. Or you can make your own spot cleaner by mixing rubbing alcohol and water in a spray bottle (use a 2:1 ratio of alcohol to water).
Common Brush Cleaning Mistakes to Avoid
Even with the best intentions, it’s easy to mess up brush cleaning. Here are some mistakes to watch out for:
Don’t soak your brushes in water. It’s tempting to just throw them all in a bowl to soak, but this can completely ruin them. The water will seep into the ferrule, loosen the glue, and cause shedding. Always clean brushes individually under running water.
Don’t use hot water. Hot water might seem like it would clean better, but it can actually damage the bristles and cause them to lose their shape. Stick with lukewarm water.
Don’t dry brushes standing up. We mentioned this before, but it’s worth repeating because it’s such a common mistake. Always dry your brushes lying flat or hanging with the bristles pointing down.
Don’t skip the reshape step. Taking two seconds to reshape your brushes while they’re wet will keep them in perfect condition. If you let them dry all wonky, they’ll stay that way.

Make It a Habit
Look, I get it—cleaning your brushes isn’t exactly the most exciting part of your beauty routine. But once you get into a regular rhythm with it, it becomes second nature. Pick a day each week (maybe Sunday evening while you’re watching TV?) and just get it done.
Think of it as an investment in both your skin and your makeup collection. Clean brushes mean better makeup application, healthier skin, and brushes that last for years instead of months. Plus, there’s something oddly satisfying about seeing all that gunk wash away and knowing your brushes are fresh and clean.
Your face (and your makeup) will look so much better with clean tools. And honestly, once you see the difference, you’ll wonder why you didn’t start doing this sooner.