Concealer 101: Covering Dark Circles and Blemishes Perfectly
Let’s be real: concealer is the MVP of any makeup bag. It’s that one product that can make you look like you actually got eight hours of sleep (even when you definitely didn’t), erase that random breakout that appeared overnight, and generally make you feel like you have your life together.
But here’s the thing – concealer is also one of those products that’s incredibly easy to mess up. Too much and you look like you’re wearing a mask. Too little and what’s even the point? Wrong shade and suddenly you’ve got reverse raccoon eyes. And don’t even get me started on the creasing situation that happens by midday.
I’ve definitely been there, standing in front of my mirror at 2 PM wondering why my under-eye concealer has migrated into every fine line I didn’t even know I had. So I did what any reasonable person would do: I researched, tested a ridiculous number of concealers, and figured out what actually works.
This is your complete guide to concealer – from picking the right formula to applying it like you know what you’re doing. Let’s get into it.
Understanding Your Concealer Needs
Not all concealers are created equal, and honestly? You might need more than one. I know, I know, that sounds excessive. But concealing dark circles requires a totally different approach than covering a red, angry pimple.
Dark circles need a lightweight, creamy formula that won’t settle into fine lines. The under-eye area is delicate and prone to dryness, so you want something hydrating with a bit of luminosity to brighten.
Blemishes and acne need fuller coverage with a thicker consistency. You’re trying to neutralize redness and actually hide the texture of a pimple, which requires more pigment and staying power.
Redness around the nose or general discoloration calls for something that can be blended seamlessly into skin without looking obvious.
Once you understand what you’re trying to conceal, everything else gets a lot easier.
Choosing the Right Concealer Shade
This is where so many people go wrong, and I get it – shade matching is confusing. Here’s what you need to know:
For dark circles: Go one to two shades lighter than your foundation or natural skin tone. You’re trying to brighten and lift this area, so a slightly lighter shade creates that effect. But “lighter” doesn’t mean buying the palest shade in the range if you have medium or deep skin – it just means going up a shade or two from your usual match.
For blemishes: Match your exact skin tone or foundation shade. You want this to disappear seamlessly into your base, not create a lighter spot that draws attention to the very thing you’re trying to hide.
Undertones matter: If you have purple or blue-toned dark circles, look for a concealer with peachy or slightly orange undertones to neutralize that discoloration. For lighter skin tones, peach works great. For medium to deep skin tones, go more orange. Yellow-toned concealers are great if your dark circles lean more purple or if you’re covering any post-acne marks.
The Best Drugstore Concealers That Actually Work
Let me save you from the trial-and-error nightmare I went through. These are the concealers that consistently deliver:
For Dark Circles
Maybelline Instant Age Rewind Eraser Dark Circles Treatment Concealer
This is hands-down one of the most popular drugstore concealers for a reason. That sponge applicator might look weird, but it actually makes application super easy and hygienic. The formula is buildable, doesn’t crease (at least not as much as others), and contains goji berry extract and Haloxyl to help with dark circles over time.
People with seriously dark circles say this actually provides enough coverage without looking cakey. The downside? That sponge applicator can get a little messy after extended use, so keep the cap on. Available in 18 shades, and it works well for highlighting and contouring too.
e.l.f. Hydrating Camo Concealer
For $7, this concealer punches way above its weight class. It’s full-coverage but somehow doesn’t look heavy, and the hydrating formula means it won’t emphasize any dryness under your eyes. One reviewer said it covers their darkest under-eye circles with just a tiny dab of product.
It comes in a massive 25-shade range with various undertones, which is pretty amazing for a drugstore brand. People use it for color correcting too – grab the green shade for redness, lavender for brightening, or the standard shades for actual concealing.
NYX Bare With Me Concealer Serum
This is part concealer, part skincare, and it’s genuinely one of the best for achieving that natural, “no-makeup” look. It’s infused with tremella mushroom, cica extract, and green tea, so it actually nourishes your under-eye area while covering darkness.
The coverage is more medium than full, but that’s kind of the point – it looks like skin, not makeup. It gives a radiant finish that brightens without looking shimmery, and people rave about how little it creases compared to other formulas. If you want your concealer to be invisible, this is it.
For Blemishes
This tiny tube of concealer became a viral sensation for good reason – it’s intensely pigmented and costs like $4. The formula is creamy and blends well, but it’s thick enough to actually cover breakouts. You need the tiniest amount, which means one tube lasts forever.
The shade range is excellent with 30 colors, and people use it for everything from spot concealing to full-face contouring. Just note that because it’s so full-coverage, it can look heavy if you use too much or don’t blend it properly.
Neutrogena SkinClearing Blemish Concealer
What makes this concealer special is that it actually treats acne while covering it. It contains salicylic acid to help clear breakouts, which means you’re not just masking the problem – you’re addressing it.
The formula covers redness really well without clinging to dry, flaky spots (which can happen when you’re treating acne). One reviewer mentioned they can layer it throughout the day for touch-ups without it getting patchy or streaky. The flat edge of the applicator makes it easy to target exactly where you need coverage.
The All-Rounder
If you only want to buy one concealer that does everything decently well, this is it. It’s buildable, blends like a dream, and works on both under-eyes and blemishes. The coverage is light to medium, which makes it very forgiving and natural-looking.
It’s also been called a drugstore dupe for the NARS Radiant Creamy Concealer (which is like $30), so you’re getting luxury performance at a fraction of the price. The shade range could be better, but if you can find your match, this is a solid everyday concealer.
How to Apply Concealer for Dark Circles
Here’s the step-by-step that actually works:
Step 1: Prep your skin
This is non-negotiable. The under-eye area is thin and prone to dryness, so you need to hydrate it first. Apply your eye cream and give it at least 2-3 minutes to fully absorb. If you apply concealer on dry skin, it will look patchy and emphasize every line you have.
Some people swear by applying a tiny drop of facial oil before concealer – it helps the product blend seamlessly and keeps the area hydrated all day.
Step 2: Prime (optional but recommended)
If you have really bad creasing issues, use a small amount of eye primer or regular face primer under your eyes. This gives your concealer something to grip onto and helps it last longer.
Step 3: Color correct if needed
If your dark circles are very blue or purple, apply a thin layer of peach or orange color corrector first. Don’t go crazy with this – you just want to neutralize the discoloration, not cover it completely. The concealer will do the actual covering.
Apply small dots of color corrector right where the darkness is most intense (usually in the inner corners and directly under your pupil), and gently pat it in with your ring finger.
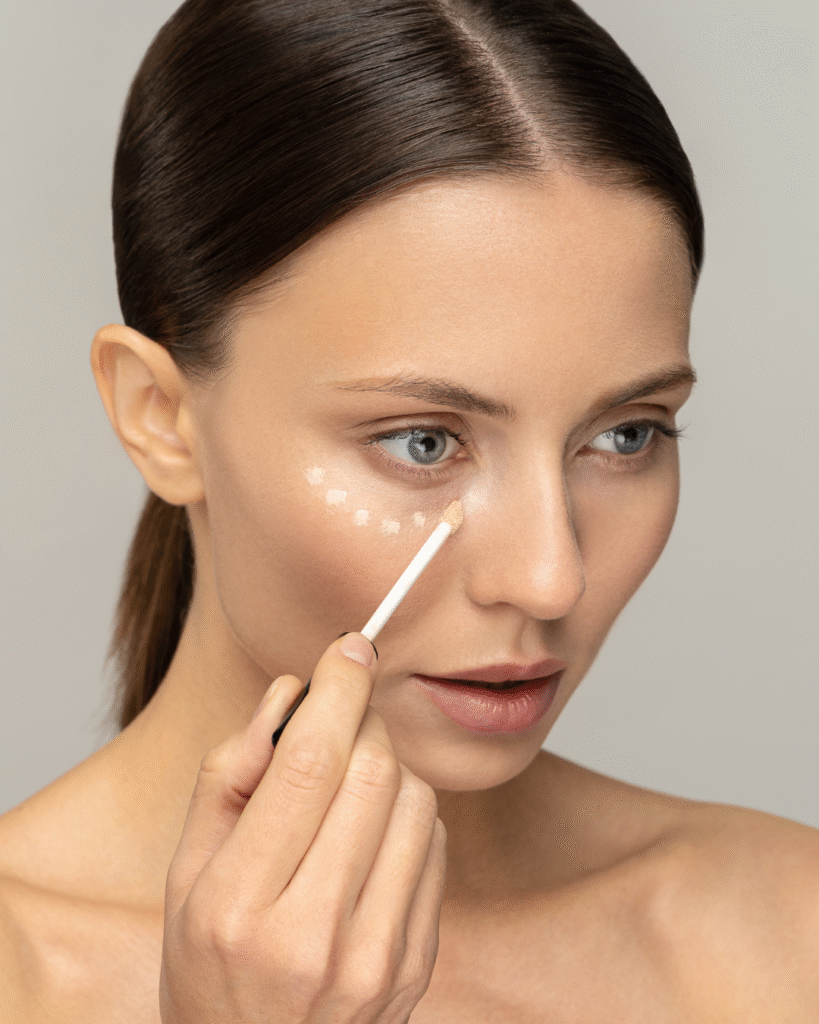
Step 4: Apply concealer in a triangle shape
Here’s a makeup artist trick that makes a huge difference: instead of just swiping concealer under your eye in a straight line, apply it in an inverted triangle shape. The base of the triangle sits right under your lash line, and the point extends down toward your cheek.
This technique brightens a larger area, making you look more awake, and it creates a subtle lift effect. Use three small dots of concealer – one in the inner corner, one in the middle, and one on the outer corner – then connect them in that triangle shape.
Step 5: Blend with a light hand
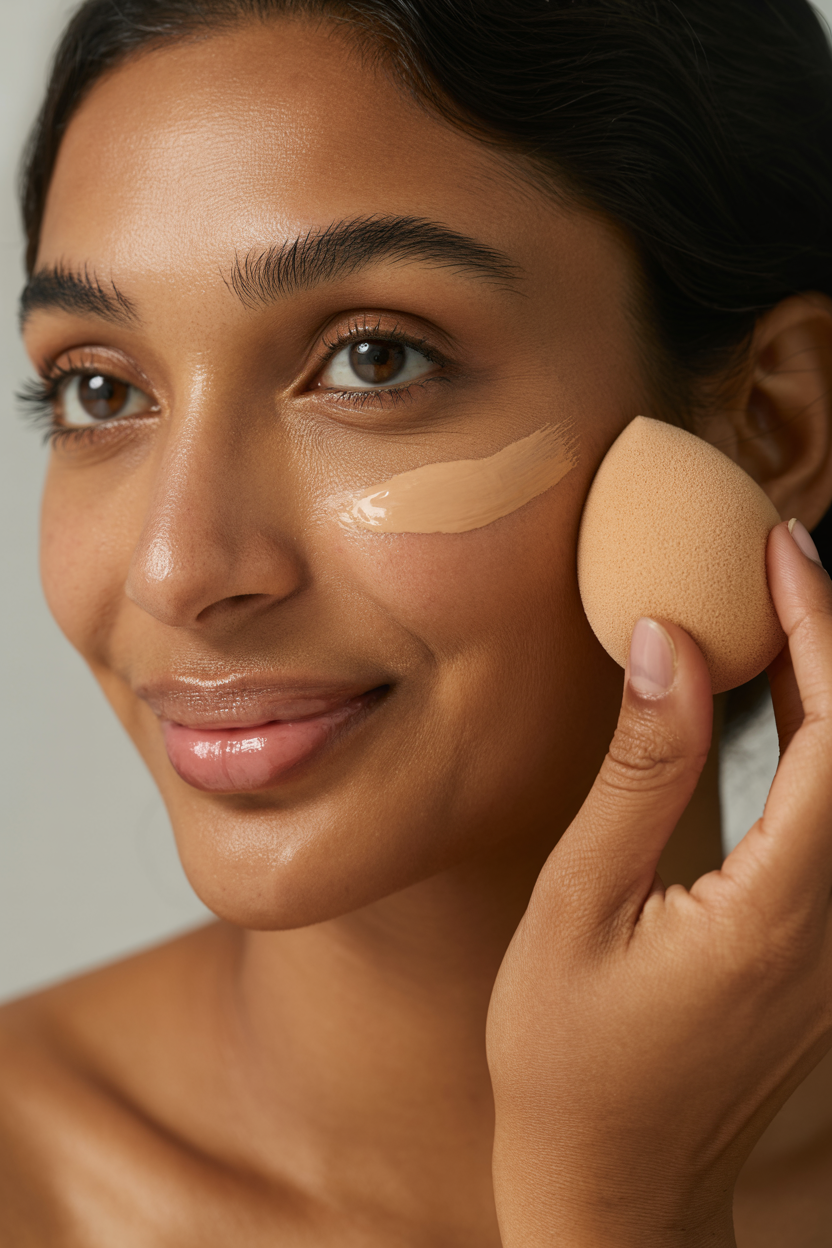
Use your ring finger (it’s the weakest finger, so you won’t tug on delicate skin), a damp beauty sponge, or a small fluffy brush. Pat and press the concealer into your skin – don’t rub or drag it. Blend the edges outward so there’s no obvious line of demarcation.
If you’re using a sponge, make sure it’s damp. This helps the concealer blend better and prevents it from soaking up too much product.
Step 6: Set it strategically
Use a small amount of translucent powder to set your concealer, but don’t go overboard. Too much powder will emphasize fine lines. Use a small, fluffy brush or a powder puff to press (not swipe) powder onto the concealed area.
Some people do the “baking” technique where you let the powder sit for 5-10 minutes before brushing away the excess. This can give you a super smooth finish, but it’s not necessary for everyday makeup.
How to Conceal Blemishes Like a Pro
Covering breakouts requires a different approach:
Step 1: Treat and prep
If possible, use a spot treatment before your makeup. Let it dry completely – we’re talking at least 10 minutes. Dry, flaky skin around a pimple is concealer’s worst enemy, so make sure the area is smooth. You can gently exfoliate or apply a tiny bit of moisturizer if it’s really crusty.
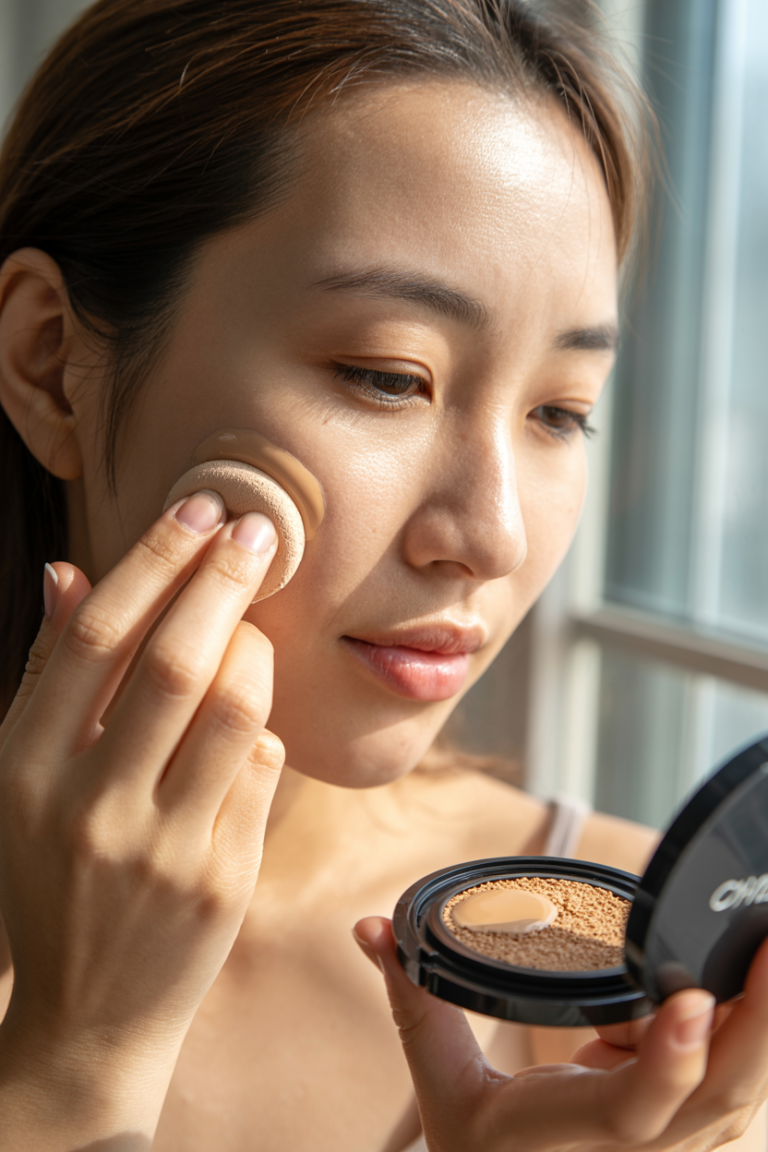
Step 2: Apply foundation first
For blemishes, you actually want to apply your foundation before concealer. The foundation provides a base layer of coverage and color correction, which means you need less concealer (and less concealer = more natural-looking).
Step 3: Warm up your concealer
Take a small amount of concealer and warm it between your fingers or on the back of your hand. Warm concealer blends way better than cold concealer straight from the tube.
Step 4: Stipple it on
Instead of swiping concealer across a blemish (which can move the product around and reduce coverage), use a stippling or patting motion. Dab the concealer directly onto the pimple with a small brush, your fingertip, or a beauty sponge. Pat it until the edges are blended but the center still has good coverage.
Step 5: Build coverage if needed
Let the first layer dry for a few seconds, then assess. If you need more coverage, add another thin layer using the same stippling technique. This builds coverage without getting cakey.
Step 6: Set it
Use a small brush to press translucent powder onto the concealed area. This helps the concealer stay put and prevents it from transferring or wearing off throughout the day.
Common Concealer Mistakes (And How to Fix Them)
Mistake #1: Using too much product
More concealer doesn’t equal better coverage – it just looks obvious and cakey. Start with a small amount and build up if needed. You’d be surprised how little you actually need when you’re applying it correctly.
Fix: Use three small dots instead of a thick line, and blend thoroughly.
Mistake #2: Choosing the wrong formula for your skin type
If you have dry skin and use a matte, full-coverage concealer under your eyes, it’s going to look terrible. Similarly, if you have oily skin and use a super dewy concealer on breakouts, it’ll slide right off.
Fix: Match your formula to your skin type and what you’re concealing. Dry skin needs hydrating formulas, oily skin needs longer-wearing mattes, and under-eyes generally need something with a bit of luminosity.
Mistake #3: Not setting your concealer
If you skip powder, your concealer will crease within an hour. Guaranteed.
Fix: Always set your concealer with a light dusting of translucent powder. Focus on areas that tend to crease (under-eyes) or areas that need to last (blemishes).
Mistake #4: Using your fingers to apply concealer on blemishes
Your fingers transfer oils and bacteria onto active breakouts, which can make them worse.
Fix: Use a clean brush or a disposable cotton swab to apply concealer on breakouts. Wash your brushes regularly.
Mistake #5: Applying concealer before foundation
For blemishes and redness, this creates a reverse layering situation where your foundation can actually remove or dilute your concealer.
Fix: Apply foundation first, then conceal. The only exception is under-eye concealer, which can go either before or after foundation depending on personal preference.
Tips for Making Your Concealer Last All Day
Nothing’s worse than checking your reflection at 3 PM and realizing your concealer has completely vanished or settled into every crease. Here’s how to make it stay put:
Use an eye cream religiously. Hydrated skin holds makeup better and creases less. Apply your eye cream morning and night.
Prime properly. A good primer creates a smooth base and helps your concealer adhere better. For under-eyes, look for a primer with a bit of grip.
Set with powder. I’ve said it before, but it bears repeating: set your concealer with powder. Press it in gently rather than sweeping it on.
Avoid touching your face. Every time you touch your face, you’re transferring oils and potentially moving your makeup around.
Blot, don’t powder. If you get oily throughout the day, use blotting papers before adding more powder. Too much powder on top of concealer looks cakey.
Use a setting spray. A good setting spray can lock everything in place. Spritz it over your finished makeup for extra longevity.
When to Skip Concealer Altogether
Plot twist: sometimes the best concealer technique is not wearing concealer at all.
If your skin is having a good day and you’re going for a minimal makeup look, you don’t need to force concealer into the equation. Let your skin breathe. Dark circles are normal and natural – you don’t have to hide them if you don’t want to.
On days when you’re dealing with very dry or flaky skin, concealer can actually make things look worse by emphasizing texture. Sometimes it’s better to skip it, focus on skincare, and try again tomorrow.
And if you’re doing a full-coverage foundation, you might find that you don’t even need concealer. A good foundation can provide enough coverage on its own.
Final Thoughts
Concealer is one of those products where technique matters just as much as the product itself. You could have the most expensive concealer in the world, but if you’re applying it wrong, it’s going to look like garbage. Conversely, a $5 drugstore concealer applied correctly can look absolutely flawless.
The key takeaways:
- Match your concealer to what you’re covering (dark circles need brightness, blemishes need full coverage)
- Prep your skin properly (hydrate, hydrate, hydrate)
- Use a light hand and build coverage gradually
- Set strategically with powder
- Don’t skip skincare – it’s the foundation of good makeup
And remember: everyone’s skin is different. What works for me might not work for you, and that’s totally okay. Experiment, have fun with it, and don’t be afraid to try new techniques or products until you find your perfect match.
Now go forth and conceal with confidence!
This post contains affiliate links, which means I may earn a small commission if you purchase through my links at no additional cost to you. I only recommend products I genuinely believe in!