
Eyeshadow for Beginners: Blending Techniques Made Simple
Eyeshadow can feel intimidating when you’re just starting out. You watch a makeup tutorial and it looks so effortless—they swipe on a few colors, blend for like three seconds, and suddenly they have this gorgeous, seamless eye look. Then you try it yourself and end up with patchy color, harsh lines, and a muddy mess that looks nothing like what you were going for.
Here’s the truth: blending eyeshadow is a skill, and like any skill, it gets easier with practice. But you also need to know the right techniques. Once you understand how blending actually works and what you’re supposed to be doing with that brush, everything clicks into place.
Let’s break down eyeshadow blending in a way that actually makes sense. No complicated jargon, no assuming you already know the basics—just straightforward techniques that will help you create beautiful eye looks without the frustration.
Why Blending Matters
Before we get into the how, let’s talk about the why. What’s the point of all this blending anyway?
Blending is what makes eyeshadow look professional instead of like you let a toddler color on your eyelids. It softens harsh lines, creates smooth transitions between colors, and gives your eye makeup that polished, intentional look. Without proper blending, you’ll have obvious streaks, clear lines where one color stops and another starts, and an overall muddy or patchy appearance.
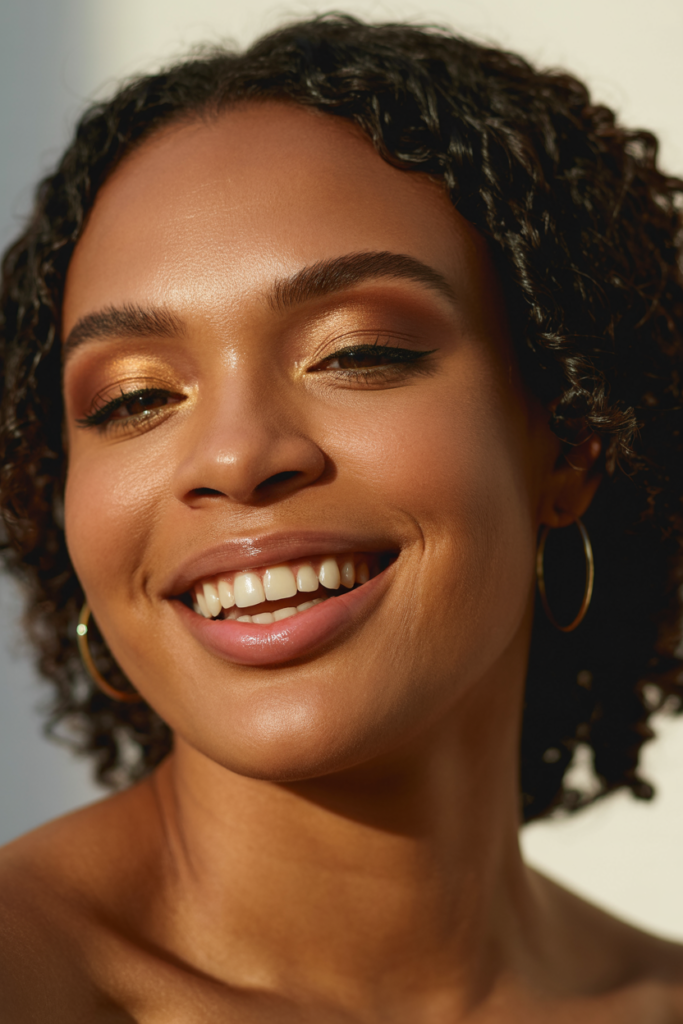
Good blending makes colors melt into each other seamlessly. It creates dimension and depth that makes your eyes look bigger and more defined. It’s the difference between “I tried to do eyeshadow” and “Wow, your eye makeup looks amazing.”
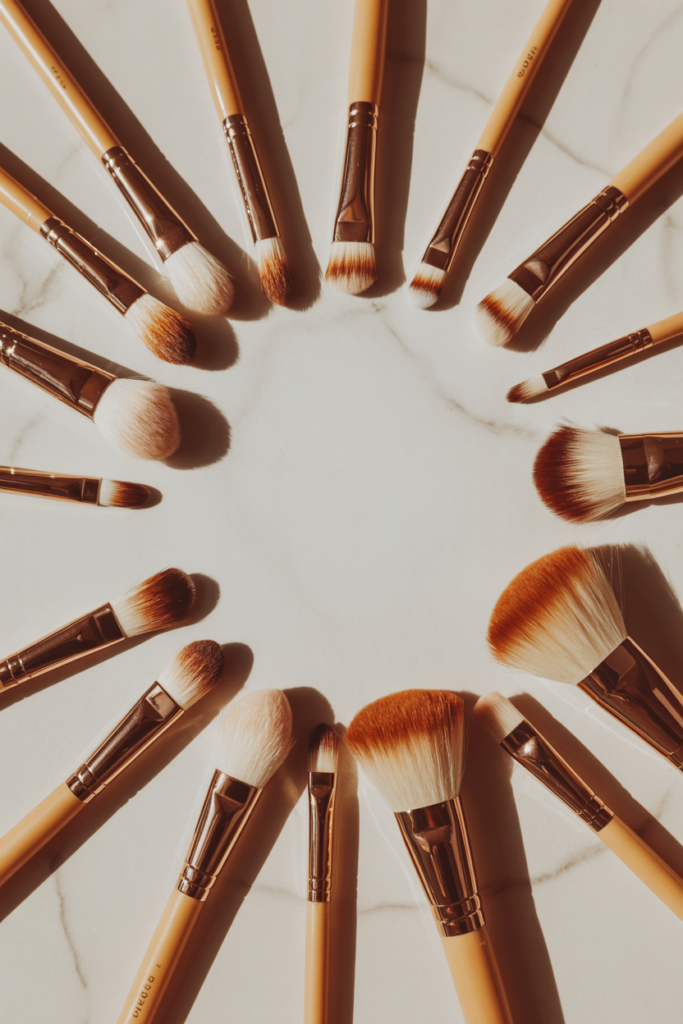
The Right Tools Make a Huge Difference
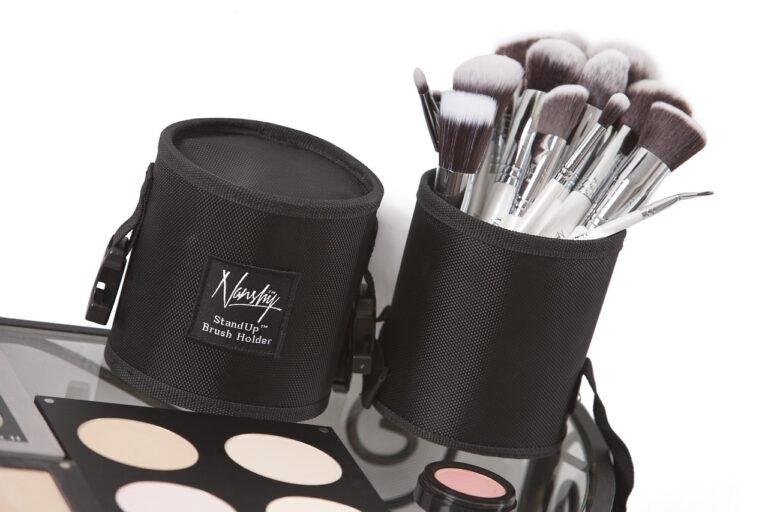
You can have the best eyeshadow in the world, but if you’re using the wrong brushes, blending is going to be a struggle. You don’t need a million brushes, but you do need a few key ones.
Flat shader brush: This is for packing color onto your lid. It has dense, flat bristles that pick up a lot of pigment and deposit it exactly where you want it. You’re not blending with this brush—you’re applying.
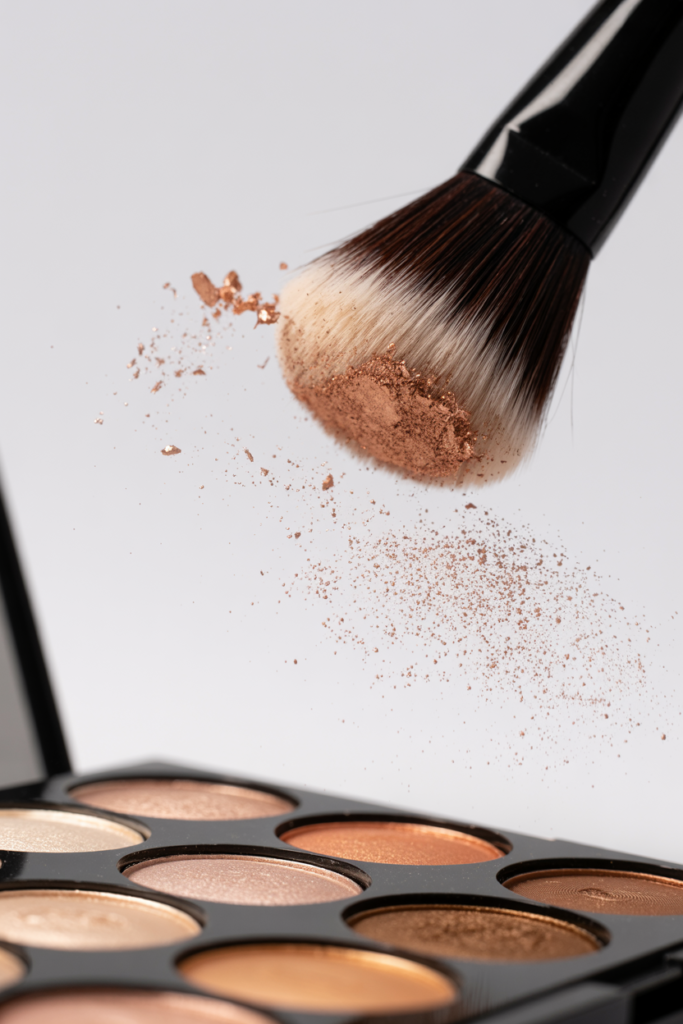
Fluffy blending brush: This is your workhorse. It’s soft, dome-shaped, and has looser bristles that diffuse color rather than depositing it. This is what actually does the blending. You’ll use this brush more than any other.
Pencil or detail brush: This smaller, more precise brush is for your lower lash line or for adding detail to your crease. It’s tapered and gives you control in tight spaces.
Clean blending brush: Always have a completely clean, fluffy brush ready to go. This is for blending out mistakes or softening edges without adding more color.
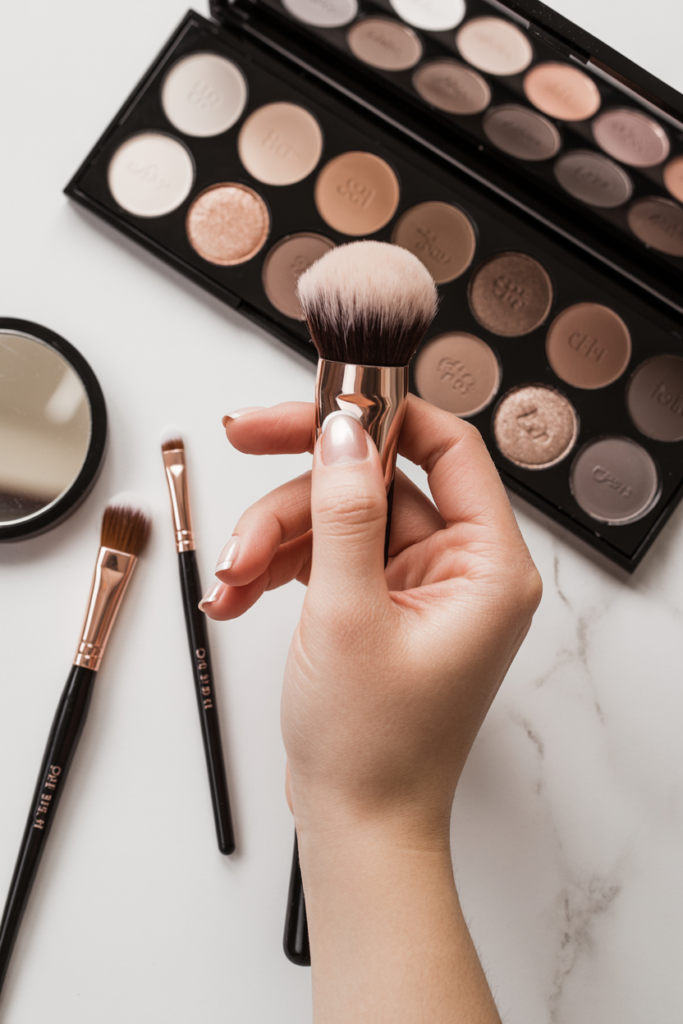
Brush quality matters here. You don’t need to spend a fortune, but those tiny sponge applicators that come with eyeshadow palettes? Toss them. They don’t blend—they just smear color around. Invest in a few decent brushes and your blending will improve dramatically.
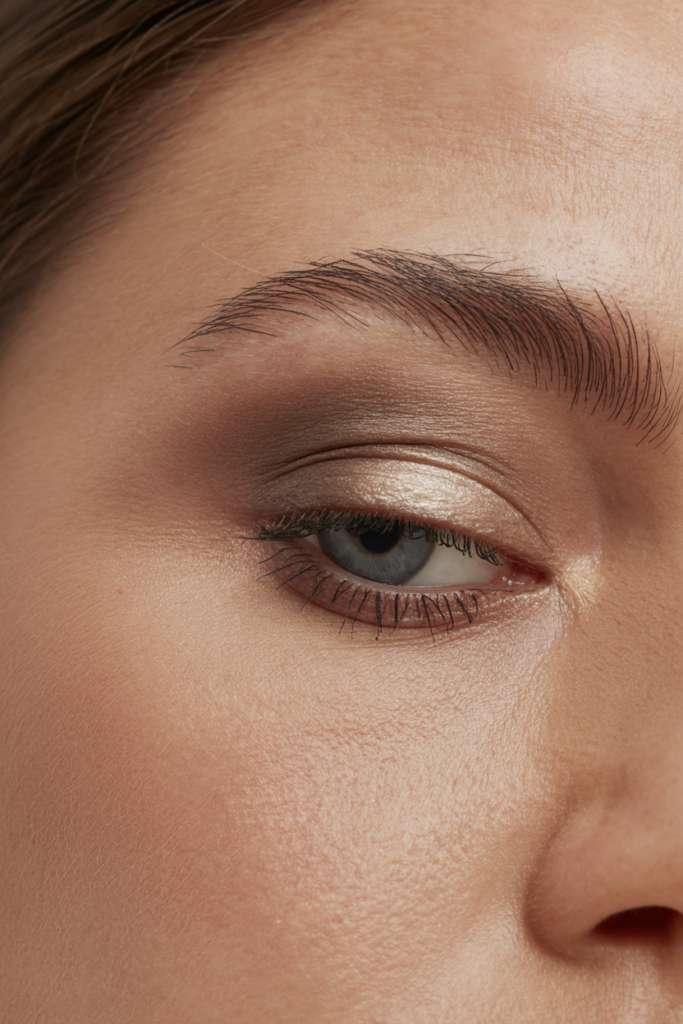
Understanding Eyeshadow Placement
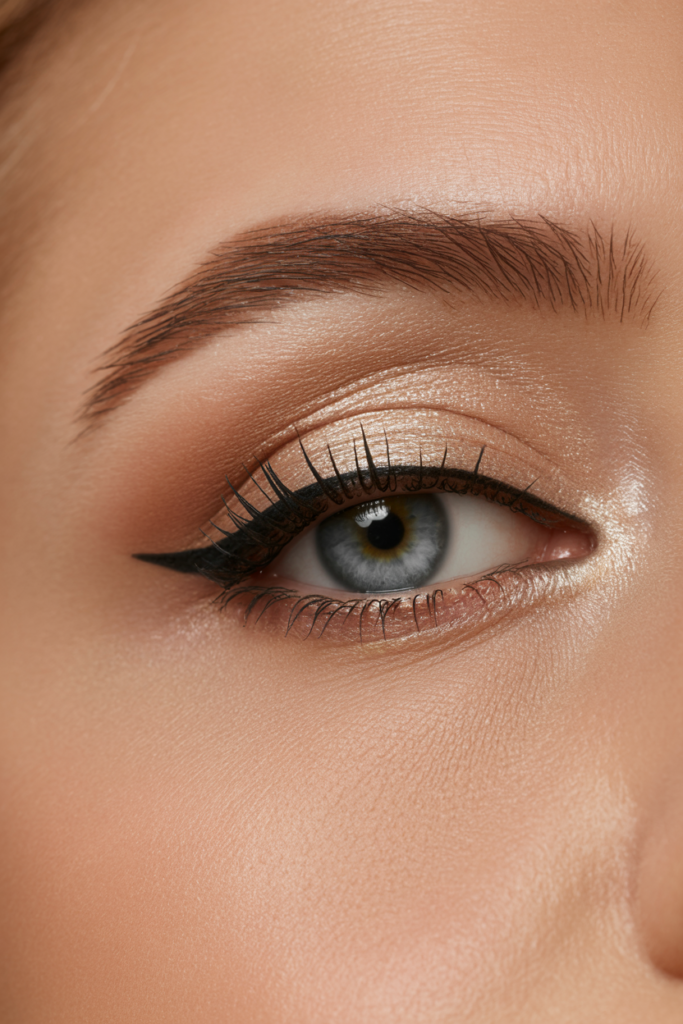
Before you can blend, you need to know where different colors go. Here’s a simple breakdown of the basic eye map:
Lid: This is the moveable part of your eyelid from your lash line up to your crease. This is where your main color usually goes.
Crease: This is the socket line where your eyelid folds. If you look straight ahead in a mirror, it’s the slight indentation above your lid. Deeper colors go here to create dimension.
Outer V or outer corner: This is the outer corner of your eye where your upper and lower lash lines meet. Darker colors here add depth and definition.
Brow bone: This is the area right under your eyebrow. A lighter, often shimmery shade here highlights and lifts.
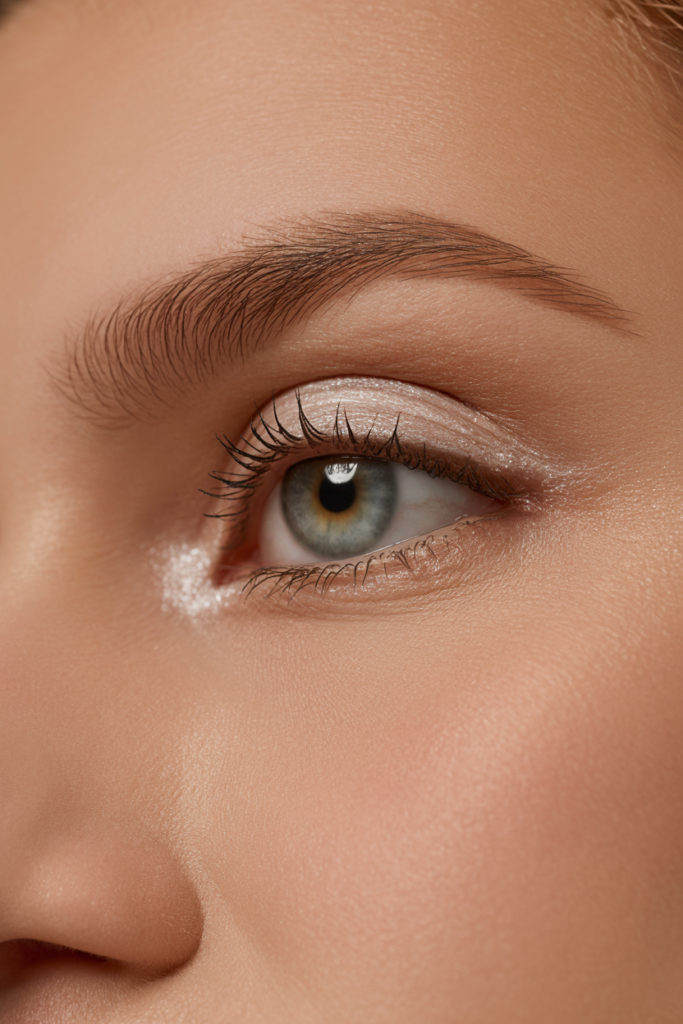
Inner corner: The inner corner of your eye near your nose. A light or shimmery shade here brightens your eyes and makes them look more awake.
Lower lash line: The area under your bottom lashes. This is optional but can tie your whole look together.
Understanding these zones is crucial because blending is all about creating smooth transitions between them.
The Golden Rule of Blending
Here’s the most important thing to know about blending: you blend where colors meet, not over the entire eye.
This is where beginners often go wrong. They apply their colors, then take a blending brush and swirl it all over their entire eyelid. This just mixes everything together into a muddy mess and removes all the definition you were trying to create.
Instead, you blend the edges where two colors touch. You’re softening that meeting point so there’s no harsh line, but you’re keeping the colors relatively distinct. Think of it like creating a gradient—you want a smooth transition from one color to the next, not everything mixed into one color.
The Basic Blending Technique
Let’s walk through the actual motion of blending. This is the foundational technique you’ll use for pretty much every eye look.
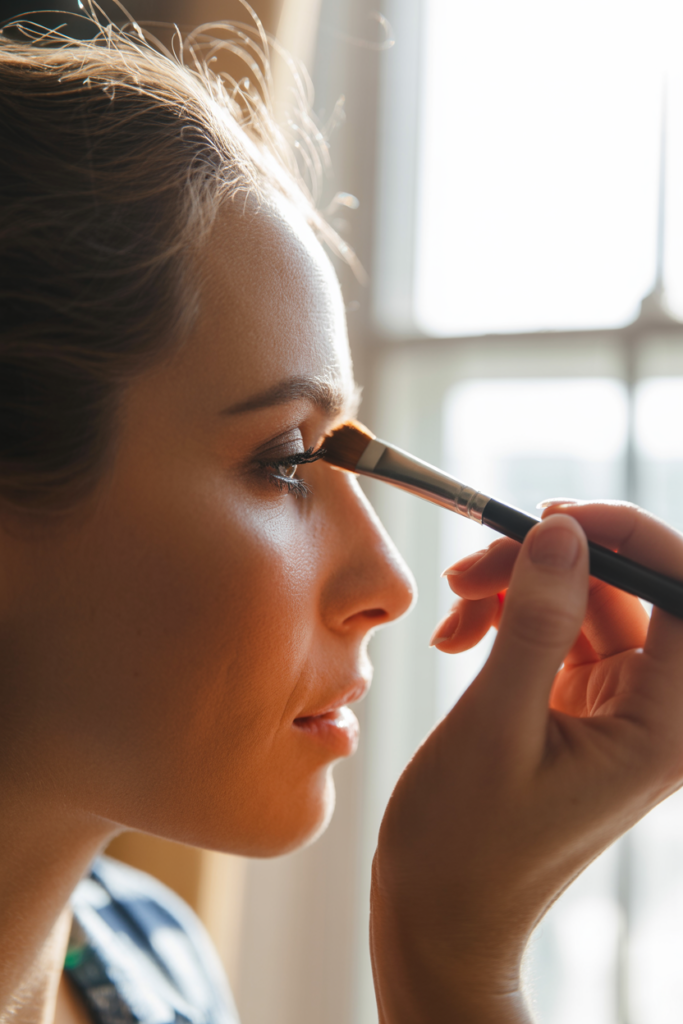
Start with a transition shade. Before you apply any bold colors, sweep a shade that’s slightly darker than your skin tone through your crease using a fluffy blending brush. This creates a base to blend your other colors into and makes the whole process easier. Use windshield wiper motions—back and forth in your crease, never in circles.
Apply your colors. Use your flat shader brush to pack your main lid color onto your lid. Then use a pencil brush or smaller fluffy brush to apply a deeper shade to your crease or outer corner. At this point, you’ll have distinct areas of color with clear lines between them.
Blend the edges. Take your clean fluffy blending brush and focus on where your crease color meets your lid color. Use small windshield wiper motions right at that junction. You’re not trying to blend the colors together—you’re just softening that harsh line.
Use circular motions at the edges. Once you’ve softened the line with windshield wipers, you can use very gentle circular motions at the very outer edge of your eyeshadow to diffuse it even further into your skin.
Clean up with a blank brush. If things start looking muddy or if you’ve blended too much color around, take a completely clean fluffy brush and blend over the area with no product. This picks up excess pigment and softens everything.
The Windshield Wiper Method
This is the most important blending motion to master. Hold your brush like you’re holding a pencil (not like a paint brush), and move it back and forth across the area you’re blending—like a windshield wiper.
The key is to use a light hand. You’re not scrubbing at your eyelid. The brush should barely kiss your skin as it moves back and forth. Let the brush do the work—the soft, fluffy bristles are designed to pick up and diffuse color.
Stay focused on the area you’re blending. If you’re blending your crease, your windshield wiper motion should stay in the crease, not wander up to your brow bone or down onto your lid. Controlled, intentional movements are what create clean, well-blended looks.
Building Up Color Gradually
Here’s a mistake beginners make all the time: applying too much eyeshadow at once and then trying to blend it. This creates a patchy, muddy mess that’s almost impossible to fix.
Instead, build your color up slowly. Start with less eyeshadow than you think you need. Apply a little, blend it out, then add more if needed. It’s so much easier to add more color than to remove excess or fix a mistake.
This layering approach also helps with blending because each thin layer blends into the previous one seamlessly. You’re creating depth gradually rather than dumping a ton of pigment on your lid all at once.
When you’re adding your deeper crease shade, tap off excess product from your brush before applying it to your eye. You want just a little bit of color that you can build up gradually.
The Importance of Transition Shades
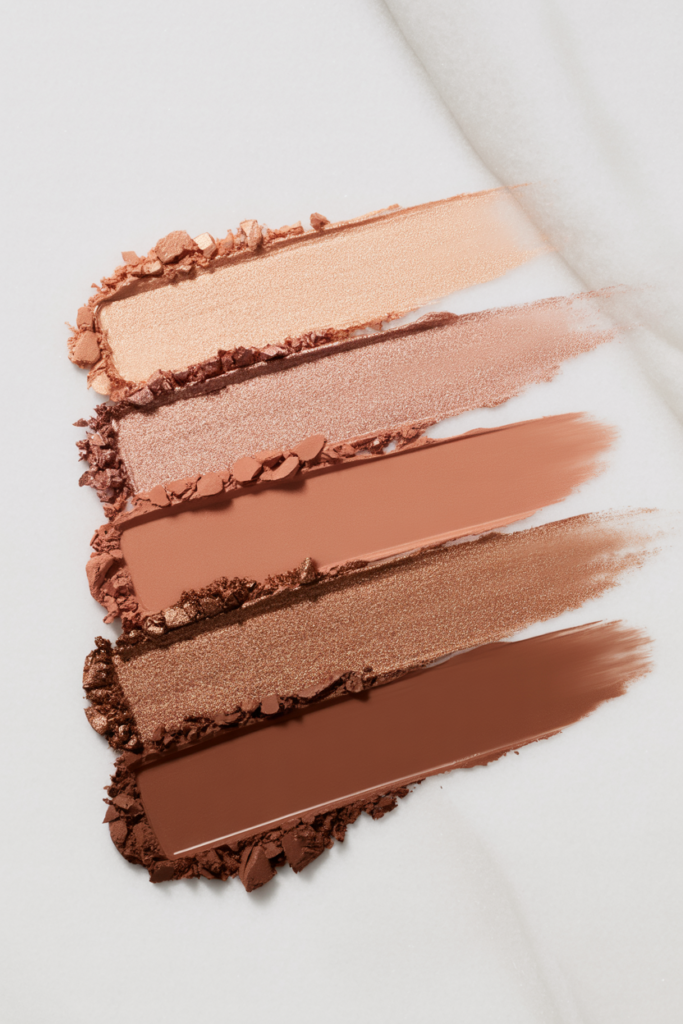
Transition shades are the unsung heroes of eyeshadow blending, and they’re especially important for beginners. A transition shade is a color that’s just slightly deeper than your skin tone—think a soft brown, taupe, or terracotta depending on your coloring.
You apply this to your crease before any of your other colors. It serves as a buffer between your skin and your bolder colors, which makes blending so much easier. Think of it like a primer for your eyeshadow—it gives your other colors something to grip onto and blend into.
Without a transition shade, you’re trying to blend bold color directly into bare skin, which often looks harsh or patchy. With a transition shade, your colors melt into each other beautifully because they’re all blending into that neutral base first.
For every eye look, start with a transition shade. Always. Even if you’re doing a simple one-color look, that transition shade in the crease adds dimension and makes everything look more polished.
Dealing with Different Eyeshadow Formulas
Not all eyeshadows blend the same way, and understanding the differences will help you adjust your technique.
Matte shadows are usually the easiest to blend, which is why they’re great for beginners. They’re also the most forgiving if you make mistakes. Use them for your transition shades and crease colors.
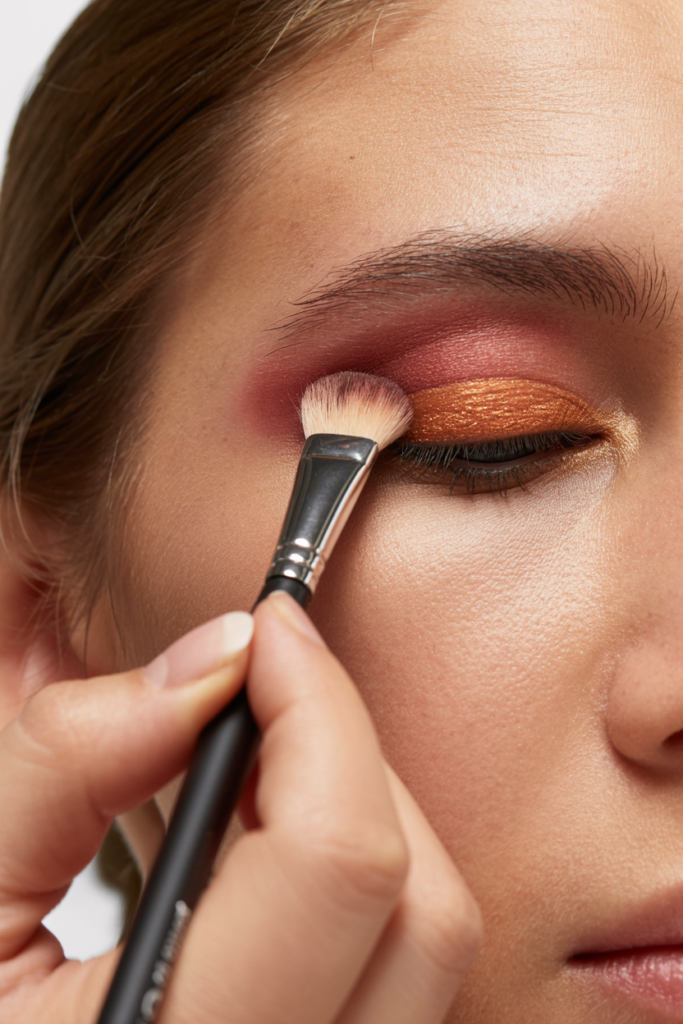
Shimmer or metallic shadows don’t blend as easily as mattes. The shimmer particles can create a patchy appearance if you try to blend them too much. Apply these with a flat brush and blend just the edges, leaving the center shimmery and intense.
Powder shadows require a light hand and soft, sweeping motions. Too much pressure will create patchiness.
Cream shadows blend differently—you need to work quickly because they set in place. Use your finger or a synthetic brush and blend immediately after application.

Common Blending Mistakes and How to Fix Them
Muddy eyeshadow: This happens when you over-blend or mix too many colors together. To avoid it, use the right colors together (similar tones blend better), don’t blend over your entire lid, and know when to stop. If it’s already muddy, you can sometimes save it by applying a lighter color over the muddy area and blending gently.
Harsh lines: If you have a clear line where colors meet, you haven’t blended enough at that junction. Go back with a clean fluffy brush and focus specifically on that line using windshield wiper motions.
Patchy color: This usually means you didn’t use enough eyeshadow or you blended too much away. Add more color and build it up in thin layers.
Color disappearing: If you apply color and then it seems to vanish when you blend, you’re either using too light a hand when applying (pack it on more firmly with a flat brush first) or you’re over-blending. Remember, you’re softening edges, not removing color.
Fallout everywhere: Some eyeshadows are just messy and create fallout. Do your eye makeup before your base makeup, or hold a tissue under your eye while applying eyeshadow to catch fallout.
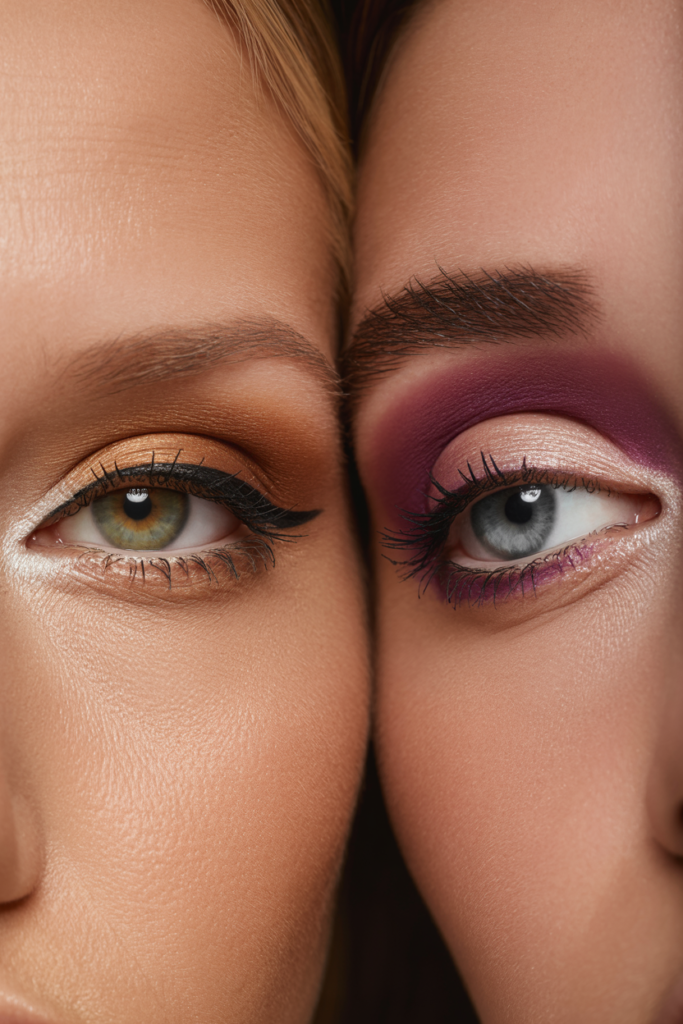
Simple Eye Looks to Practice Your Blending
The best way to get better at blending is to practice with simple looks before moving on to complex ones. Here are some beginner-friendly looks to try:
One-color wash: Pick one shade and blend it all over your lid and slightly into your crease. Focus on creating a soft, diffused edge where the color fades into your skin. This teaches you the basic blending motion without having to worry about multiple colors.
Basic crease: Apply a light color on your lid and a medium shade in your crease. Practice blending where they meet until the transition is seamless. This is the foundation of almost every eye look.
Outer corner depth: Do the basic crease look, then add a darker shade to your outer corner. Blend it into your crease color. This adds dimension and teaches you how to blend multiple shades together.
Tips for Making Blending Easier
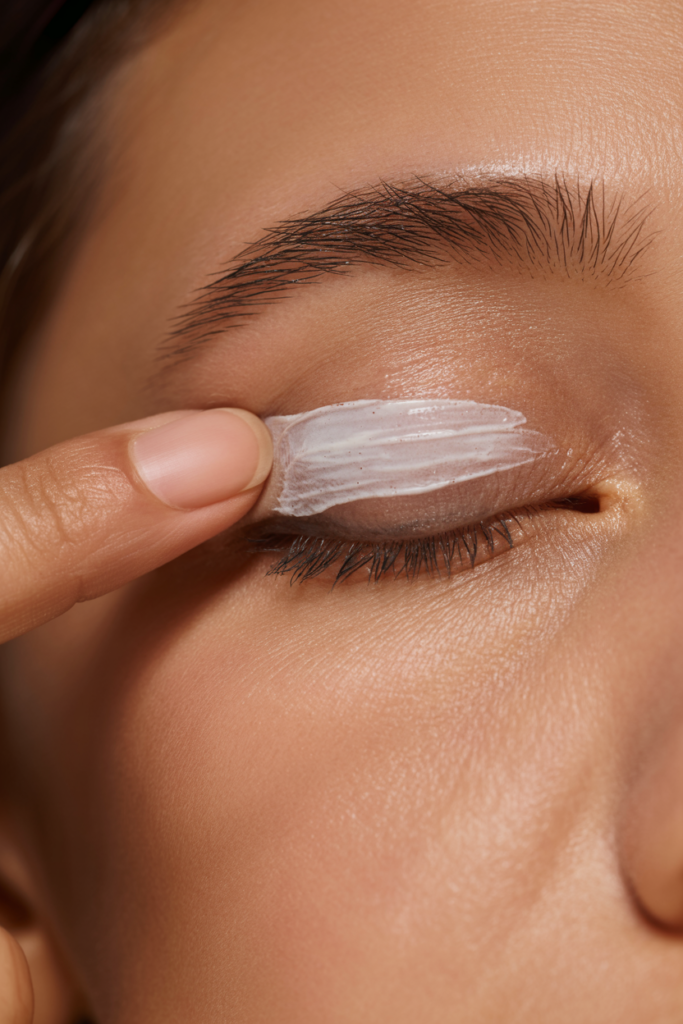
Prime your lids: Eyeshadow primer creates a smooth base that helps eyeshadow blend better and last longer. It’s worth using, especially if you have oily lids or if your eyeshadow tends to crease.
Work in natural light: You can’t blend what you can’t see. Natural daylight shows you exactly where your lines are harsh and where you need more blending.
Step back from the mirror: Sometimes when you’re too close to the mirror, you over-blend trying to make everything perfect. Step back and look at your eye from a normal viewing distance. It probably looks better than you think.
Use a light hand: The lighter your touch, the better your blending will be. Gentle, sweeping motions work better than firm, heavy pressure.
Clean your brushes regularly: Product buildup on your brushes makes blending harder. Wash them weekly or spot clean between uses.
Don’t be afraid to wipe off and start over: If you’re practicing and it’s not working, just remove it and try again. This is how you learn.
Be Patient with Yourself
Here’s the thing about blending: it feels awkward and frustrating at first, and then one day it just clicks. You’ll be doing your eyeshadow and suddenly realize you’re blending without really thinking about it. The motions feel natural, you know how much pressure to use, and your eyeshadow looks smooth and seamless.
That day will come, but you have to be patient with yourself in the meantime. Every time you practice, you’re building muscle memory and training your eye to see where you need more blending. Even “bad” attempts are teaching you something.
Don’t compare your first attempts to someone who’s been doing makeup for years. They’ve probably done thousands of eye looks—of course theirs look better. You’re building a skill, and that takes time.
Start with simple looks, master the basic blending motion, and gradually work your way up to more complex techniques. Before you know it, you’ll be creating beautiful, seamlessly blended eye looks without even breaking a sweat. You’ve got this!

Thank you so very much for posting this tutorial. Your explanation of the whole process was perfectly detailed, in words that were neither condescending or gobbledy-gook. I especially liked the fact that you made sure to talk about the different brushes and why, as well as how, to use them. 2 very enthusiastic 👍up.