The Cloud Skin Makeup Technique for a Soft-Focus Filter Effect
Okay, can we talk about how we’ve basically come full circle with makeup trends? Remember when everyone was obsessed with that ultra-dewy, glazed donut skin? And before that, the super matte, heavily baked look from the early 2010s? Well, cloud skin is what happens when those two trends meet in the middle and have a beautiful baby together.
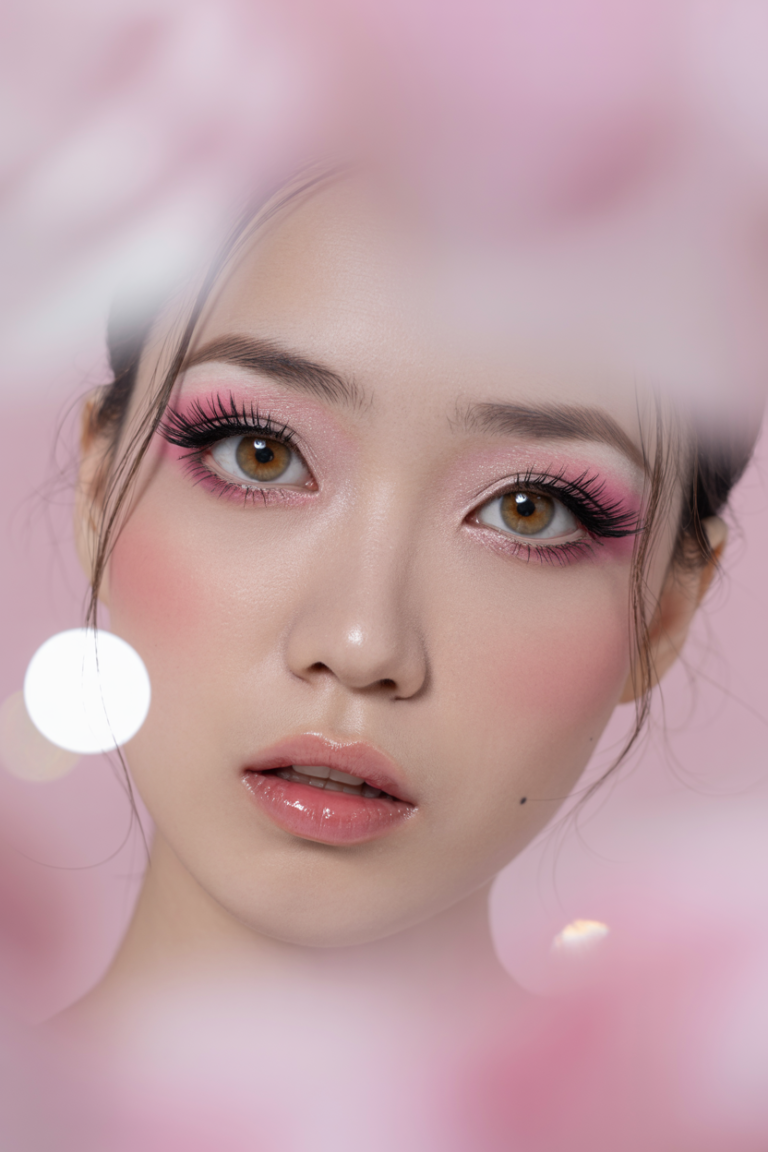
If your TikTok FYP has been showing you those dreamy, soft-focus makeup looks that somehow look both matte and glowing at the same time, you’ve already seen cloud skin in action. And honestly? It might be my new favorite makeup technique, because it gives you that “I woke up like this” vibe without actually looking like you just rolled out of bed.
What Exactly Is Cloud Skin?
The term “cloud skin” was originally coined by MAC makeup artist Dominic Skinner, and it’s meant to describe that ethereal effect you get when sunlight filters through clouds. You know that soft, diffused glow? That’s what we’re going for here.
Here’s the thing though: cloud skin isn’t actually new. Makeup artists have been using this technique on red carpets and photoshoots for years to create that perfect soft-focus effect that photographs beautifully. It just didn’t have a cute name until recently, and now it’s having its moment on social media.
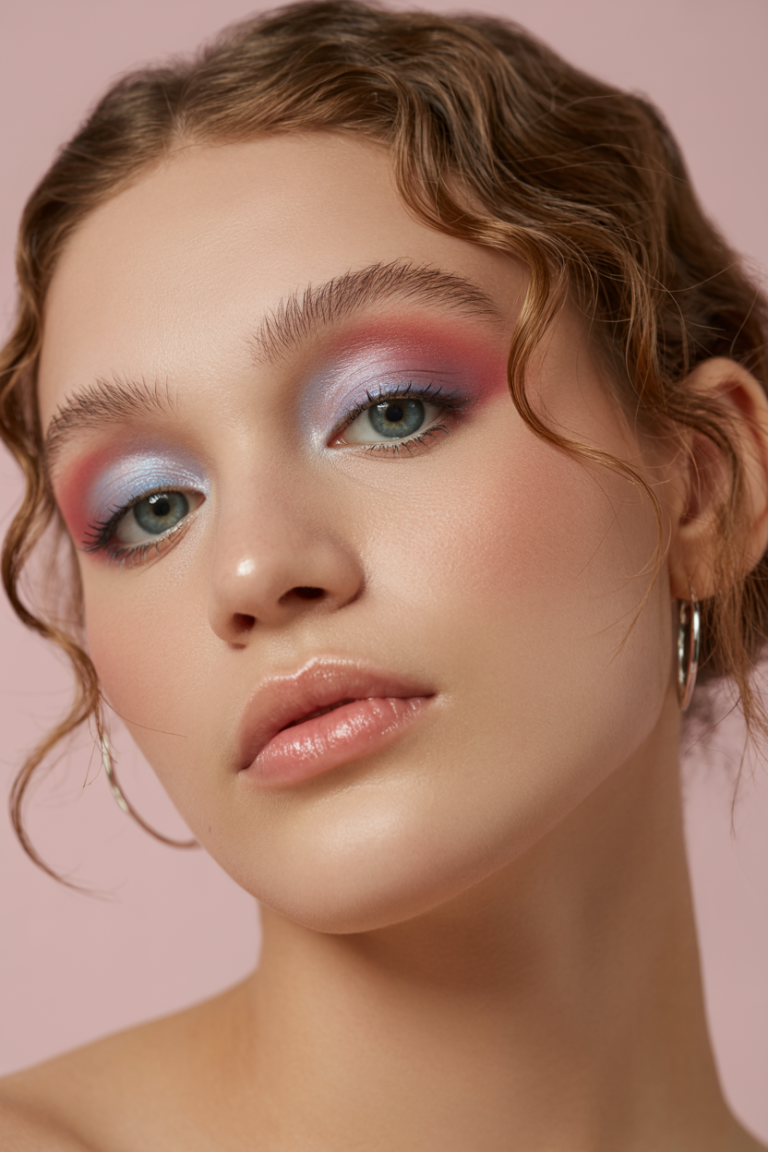
The goal is to create skin that looks naturally radiant and slightly matte, but not flat or dull. It’s about strategic texture mixing—keeping some areas of your face dewy and luminous while mattifying others to create dimension. Think of it as the Goldilocks of makeup: not too shiny, not too matte, but just right.
Why Cloud Skin Works for Everyone
What I love about this technique is that it’s actually pretty forgiving. Unlike glass skin (which can emphasize texture and pores if you’re not careful) or full-coverage matte makeup (which can look heavy and age you), cloud skin sits in that sweet spot where it works for most skin types.
Got oily skin? The matte finish will help control shine throughout the day without looking cakey. Dry skin? The heavy emphasis on hydration means you won’t look flaky or tight. Combination skin? This technique was basically made for you, since you can customize where you place matte vs. dewy products.
Plus, it’s way more low-maintenance than some of those other trends. You’re not trying to make your skin look like literal glass or achieve that high-beam highlighter glow. You’re just… enhancing what’s already there.
The Cloud Skin Technique: Step-by-Step
Alright, let’s get into how to actually create this look. The secret is all in the prep and the layering technique.
Step 1: Hydration Is Everything
I cannot stress this enough: cloud skin starts with skincare. This might seem counterintuitive if you’re going for a matte finish, but trust me—you need that hydrated, plump base for the technique to work properly.
Start with a hydrating cleanser (skip anything harsh or stripping), then layer on a hydrating serum. Hyaluronic acid is your best friend here. Follow up with a lightweight moisturizer that won’t feel heavy under makeup. If you have oily skin, don’t skip this step—dehydrated skin actually produces more oil to compensate.
Let your skincare absorb for a few minutes before moving on to makeup. Your skin should feel plump and bouncy, not greasy. If you applied too much moisturizer, blot gently with a tissue before starting your makeup.
Step 2: Prime Strategically
Here’s where things get interesting. You’re going to use different primers on different parts of your face to create that cloud effect.
If you have combination or oily skin, apply a mattifying primer to your T-zone (forehead, nose, chin) where you typically get shiny. On your cheeks and the perimeter of your face, use a hydrating or blurring primer. This creates a foundation (pun intended) for that matte-meets-dewy effect.
If you have dry skin, you can use a hydrating primer all over, or even skip primer entirely and use a hydrating serum as your base. The key is creating a smooth, slightly grippy canvas that will help your makeup blend seamlessly.
Step 3: Choose the Right Base
This is not the time for full-coverage foundation. Cloud skin is all about lightweight, skin-like coverage that evens out your complexion without masking your natural texture.
Go for a lightweight foundation, tinted moisturizer, or skin tint with a natural or satin finish. Avoid anything that says “ultra-matte” or “full coverage.” You want something that will blur imperfections while still letting your skin show through.
The application technique matters here too. Use a damp beauty sponge and apply your base using bouncing or stippling motions rather than dragging it across your skin. Start from the center of your face and blend outward. The goal is to create an airbrushed effect, not a mask.
Let your foundation settle into your skin for a minute or two before moving on. This helps prevent any patchiness when you apply powder later.
Step 4: Conceal Strategically
Use concealer only where you actually need it—under-eye darkness, blemishes, any redness. The whole point of cloud skin is that natural, skin-like finish, so don’t go overboard trying to cover every tiny imperfection.
For an extra dose of that lit-from-within glow, you can use a concealer that’s one shade lighter than your foundation and apply it to the high points of your face: under your eyes in a triangle shape, down the bridge of your nose, on your forehead, and on your chin. Blend it out with a damp sponge for a subtle highlighting effect.
Step 5: Add Dimension with Cream Products
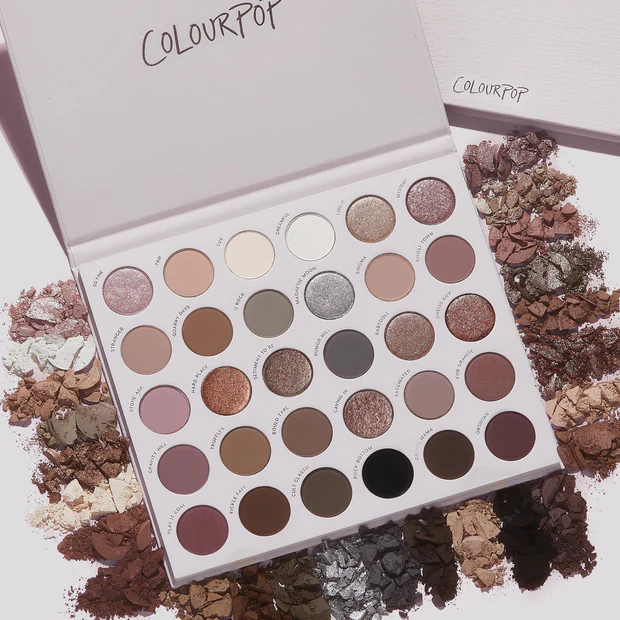
Before you set anything with powder, this is your chance to add color and dimension using cream or liquid products. The cream texture is key—it creates that soft, diffused look rather than sitting on top of your skin.
Apply a cream blush to the apples of your cheeks and blend it upward toward your temples. Focus on the highest points of your cheekbones for that lifted, youthful effect. If you want to add bronzer for warmth, use a cream formula and apply it lightly to the hollows of your cheeks, temples, and along your hairline.
For highlighter, skip anything glittery or intensely shimmery. You want a subtle, natural-looking glow on the high points of your face—cheekbones, brow bones, down the bridge of your nose, and your cupid’s bow. The light should bounce off these areas naturally, not scream “I’m wearing highlighter!”
Step 6: The Magic Powder Step
Okay, this is where cloud skin really comes together. The powder application is what creates that signature soft-focus, blurred effect.
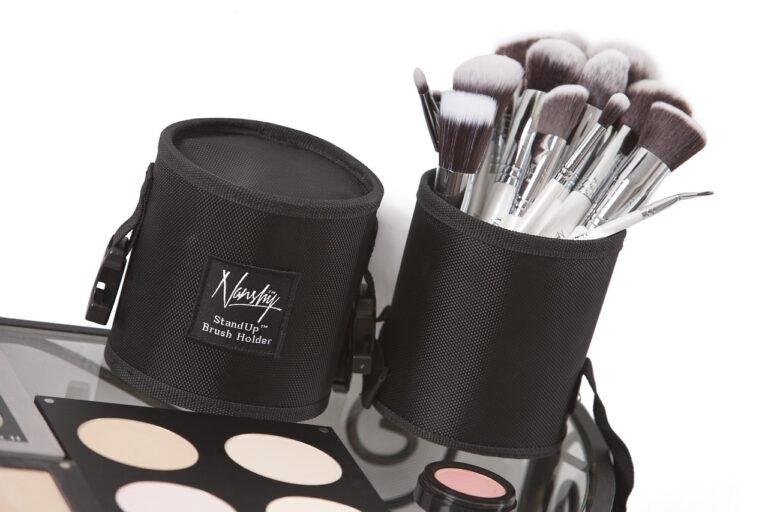
Here’s the technique: Load a fluffy brush with loose or pressed powder (go for a finely-milled formula, not anything chunky or chalky). Stand the brush upright and tap the handle on a hard surface. This pushes the powder deep into the bristles so you get a really light, even application without over-powdering.
Now, instead of sweeping the powder across your face, you’re going to use a press-and-roll motion. Gently press the brush onto your skin and roll it slightly. This distributes the tiniest amount of powder—just enough to blur texture and set your makeup without making it look flat or matte.
Focus your powder application on areas that tend to get oily: your T-zone, under your eyes, and anywhere you applied concealer. Leave the high points of your face (where you applied highlighter) untouched by powder. This creates that dimensional effect where some areas are matte and soft while others catch the light.
If you accidentally over-powder and lose your glow, don’t panic. Take a damp beauty sponge and gently press it over your skin. This will revive some of that dewy finish and meld everything together.
Step 7: Set It (But Not Too Much)
The final step is setting spray, but choose wisely. You don’t want a super matte setting spray that will flatten everything you just created.
Go for a hydrating setting spray or even just a facial mist. Hold the bottle about 10 inches from your face and mist in an X and T pattern. This helps meld all the layers together and gives you that slightly dewy finish that makes the whole look cohesive.
Let the setting spray dry naturally—don’t touch your face or fan it dry. As it dries, it will lock everything in place while maintaining that soft, hazy finish.

Tips for Making Cloud Skin Last
One of the best things about this technique is that it actually lasts pretty well throughout the day, especially compared to super dewy looks that tend to get greasy or fade.
If you start getting shiny midday, skip the powder compact. Instead, use blotting papers on your T-zone to absorb oil without disturbing your makeup. If you absolutely need to touch up with powder, use that same press-and-roll technique with the lightest hand possible.
For longevity, make sure your skincare is fully absorbed before you start your makeup. If your moisturizer is still sitting on top of your skin when you apply foundation, everything will slide around and break down faster.
Common Mistakes to Avoid
The biggest mistake I see people make with cloud skin is using too much product. This technique is all about subtlety and light layers. If you go in heavy-handed with foundation or powder, you’ll lose that ethereal, soft-focus effect and end up looking cakey.
Another common issue is choosing the wrong foundation finish. If your base is too matte or too dewy, it won’t work for this technique. You need something right in the middle—a natural or satin finish that can be customized with powder.
Also, don’t skip the skincare prep. I know I already said this, but it bears repeating: if your skin isn’t properly hydrated, the powder step will emphasize dry patches and texture instead of blurring them. Hydration is literally the foundation (okay, I’ll stop with the puns) of this entire technique.
When to Wear Cloud Skin
Honestly? Pretty much anytime. That’s the beauty of this look—it’s versatile.
It’s perfect for everyday wear when you want to look polished but not “done up.” It photographs beautifully, so it’s great for events, dates, or any time you know photos will be happening. And because it’s so low-maintenance and long-lasting, it’s ideal for long days when you don’t want to worry about constant touch-ups.
The one caveat: if you’re going somewhere super humid or you know you’ll be sweating a lot, you might want to go a bit heavier on the mattifying powder. The technique can still work, but you’ll need to adjust it slightly for those conditions.
The Bottom Line
Cloud skin is basically the perfect compromise between all the makeup trends we’ve seen over the past few years. It gives you that filter-like finish without looking overly done or unnatural. Plus, it’s actually pretty easy to master once you understand the technique.
The key things to remember: hydrate your skin first, use lightweight base products, layer cream products for dimension, and use powder strategically with that press-and-roll technique. It might take a few tries to get the balance right for your specific skin type, but once you nail it, you’ll have a makeup look that works for pretty much any occasion.
And honestly, there’s something really satisfying about creating that soft, dreamy effect without relying on filters or editing. Your skin just looks… better. Smoother. More radiant. Like you’re perpetually standing in the most flattering lighting.
So yeah, consider this your sign to give cloud skin a try. Your bathroom mirror selfies will thank you.