The Glass Skin Routine: 6 Steps to That Coveted K-Beauty Glow
If you’ve been on TikTok or scrolled through any beauty content lately, you’ve probably seen the term “glass skin” thrown around everywhere. And honestly? I get the obsession. There’s something almost hypnotic about skin that’s so luminous, so perfectly smooth, that it literally reflects light like a piece of glass.
But here’s the thing that surprised me when I first started researching glass skin: it’s not actually about having genetically perfect, poreless skin (thank god, because who has that?). The whole philosophy behind glass skin is about achieving your healthiest, most hydrated skin possible. It’s less about erasing every imperfection and more about creating that dewy, plump, lit-from-within glow that makes you look like you just had the best sleep of your life and drank, like, a gallon of water.
The glass skin trend originated in Korea, where the beauty philosophy has always focused on prevention and nourishment rather than just covering things up. And while it might look unattainable in those perfectly edited Instagram posts, I promise it’s way more achievable than you think. It just requires the right products and a bit of consistency.
Ready to get that glow? Let’s break down the six essential steps.
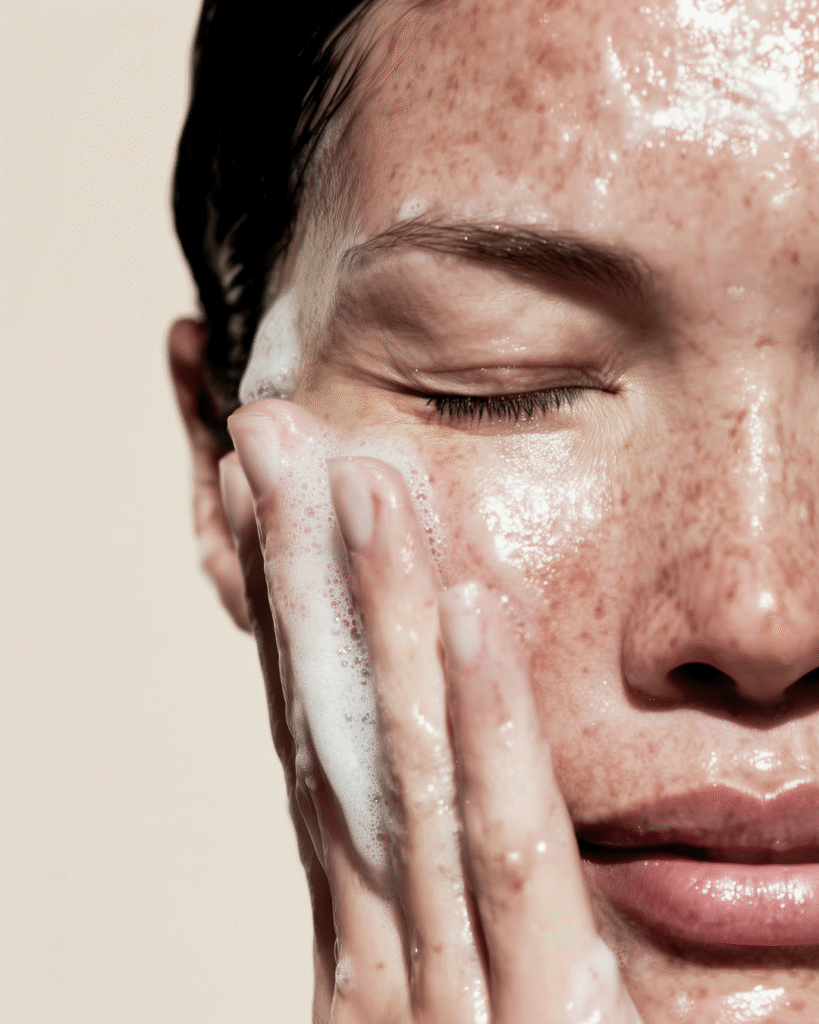
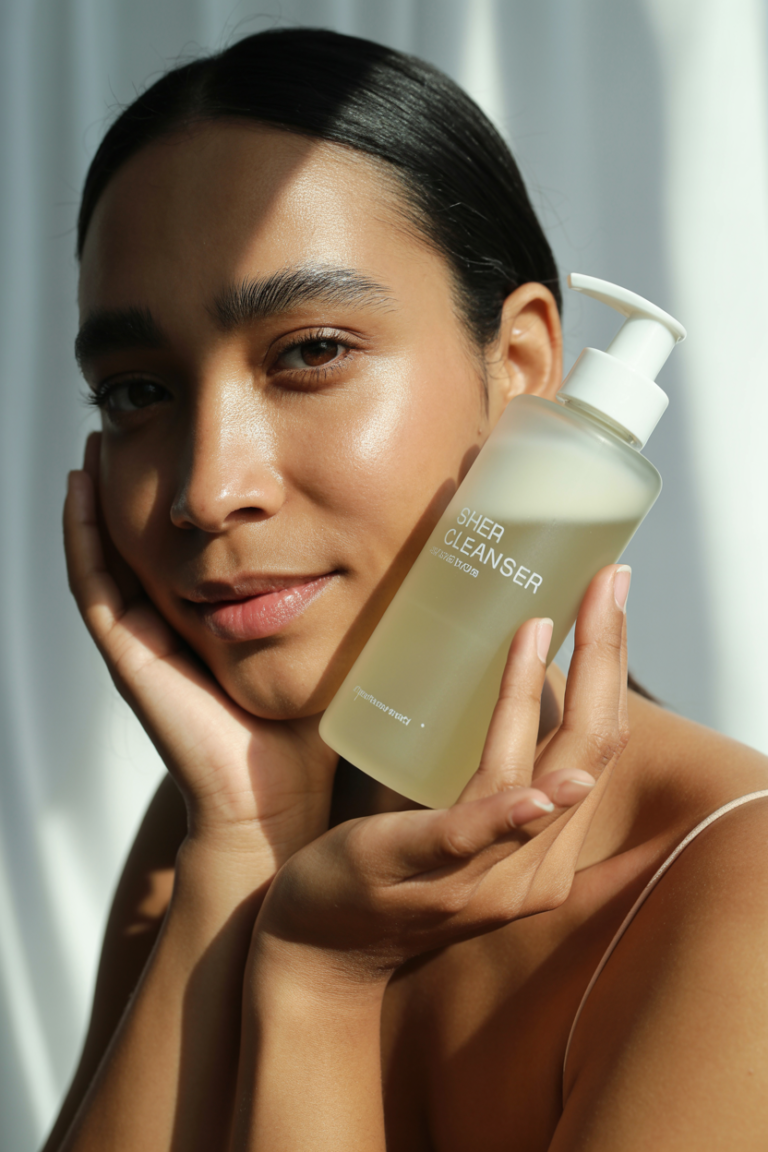
Step 1: Double Cleanse (Because One Wash Isn’t Cutting It)
Here’s the truth about cleansing: if you’re just using one cleanser, you’re probably not getting everything off. And I mean everything – makeup, sunscreen, pollution, the oil your skin naturally produces throughout the day. All that stuff builds up and blocks your skin from actually absorbing the good stuff you’re about to put on it.
Double cleansing is a K-beauty staple, and it’s exactly what it sounds like: you cleanse twice, but with two different types of cleansers.
First cleanse: Oil cleanser
Start with an oil-based cleanser to break down all the oil-based stuff on your skin – makeup, SPF, sebum. The science behind it is simple: oil dissolves oil. Your regular water-based cleanser can’t touch this stuff, which is why oil cleansing is so effective.
I’ve been using the ANUA Heartleaf Pore Control Cleansing Oil and it’s genuinely changed my cleansing game. It has 77% heartleaf extract, which is super calming (great if you’re dealing with any redness or irritation), and it actually emulsifies properly when you add water instead of just sitting there like some oil cleansers do. One reviewer mentioned they massage it for a full minute and watch their waterproof mascara literally melt away – no tugging required.
Another cult favorite is the Beauty of Joseon Ginseng Cleansing Oil, which uses ginseng seed oil to not only cleanse but also provide antioxidant benefits while you’re at it.
Second cleanse: Water-based cleanser
After you’ve rinsed off your oil cleanser, go in with a gentle, water-based cleanser to remove any remaining impurities and make sure your skin is truly clean. The key word here is gentle – you don’t want anything stripping or harsh that’s going to mess with your skin barrier.
The COSRX Low pH Good Morning Gel Cleanser is basically legendary in the K-beauty world for good reason. It has a slightly acidic pH (which matches your skin’s natural pH), so it cleanses without disrupting your skin’s balance. It’s also got tea tree oil for a subtle antibacterial effect without being harsh.
Why double cleansing matters for glass skin: Think of your skin like a sponge. If it’s clogged with gunk, it can’t absorb all the hydrating, glowing products you’re about to use. Clean skin = receptive skin = better results from everything else in your routine.
Step 2: Tone It Up (No, Not Like That)
Okay, forget everything you think you know about toners from the early 2000s. We’re not talking about those alcohol-laden astringents that made your face feel tight and stripped. K-beauty toners are a completely different beast – they’re all about hydration and prepping your skin to absorb the next steps.
The purpose of a hydrating toner is to balance your skin’s pH after cleansing, add that first layer of moisture, and basically act like a primer for the rest of your skincare. Some people call them “essences” or “skin” depending on the brand, but they’re all serving the same purpose.
I’m obsessed with the COSRX Hyaluronic Acid Hydra Power Essence. It has 4,000 ppm of hyaluronic acid (which can hold up to 1000 times its weight in water – hello, hydration) and only seven simple ingredients, so it’s perfect for sensitive skin. The texture is between a toner and a serum, and it absorbs incredibly fast. One reviewer said they finally stopped getting that tight, uncomfortable feeling after washing their face once they added this to their routine.
Another fantastic option is the Hanskin Hyaluron Skin Essence, which is specifically marketed for achieving that glass skin look. It’s got hyaluronic acid, collagen, and elastin – basically everything your skin needs to look plump and dewy.
Pro tip: Pat your toner into your skin with your palms rather than swiping it on with a cotton pad. Your hands warm up the product and help it absorb better, plus you’re not wasting half of it on a cotton round.
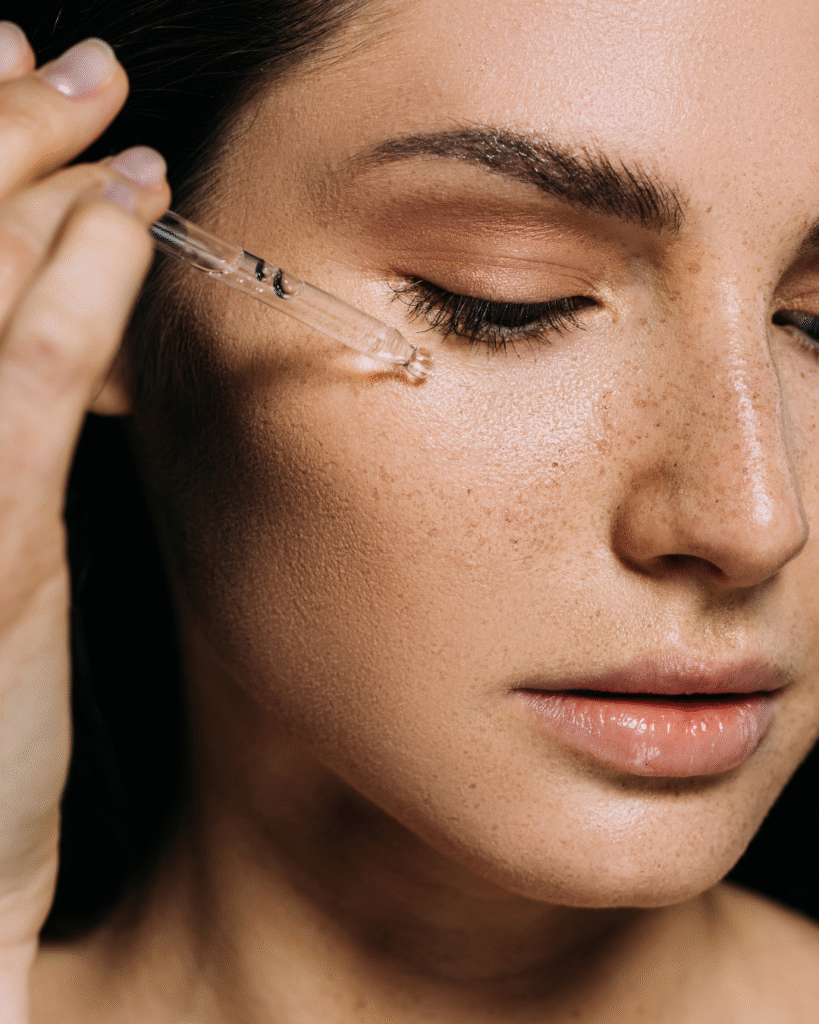
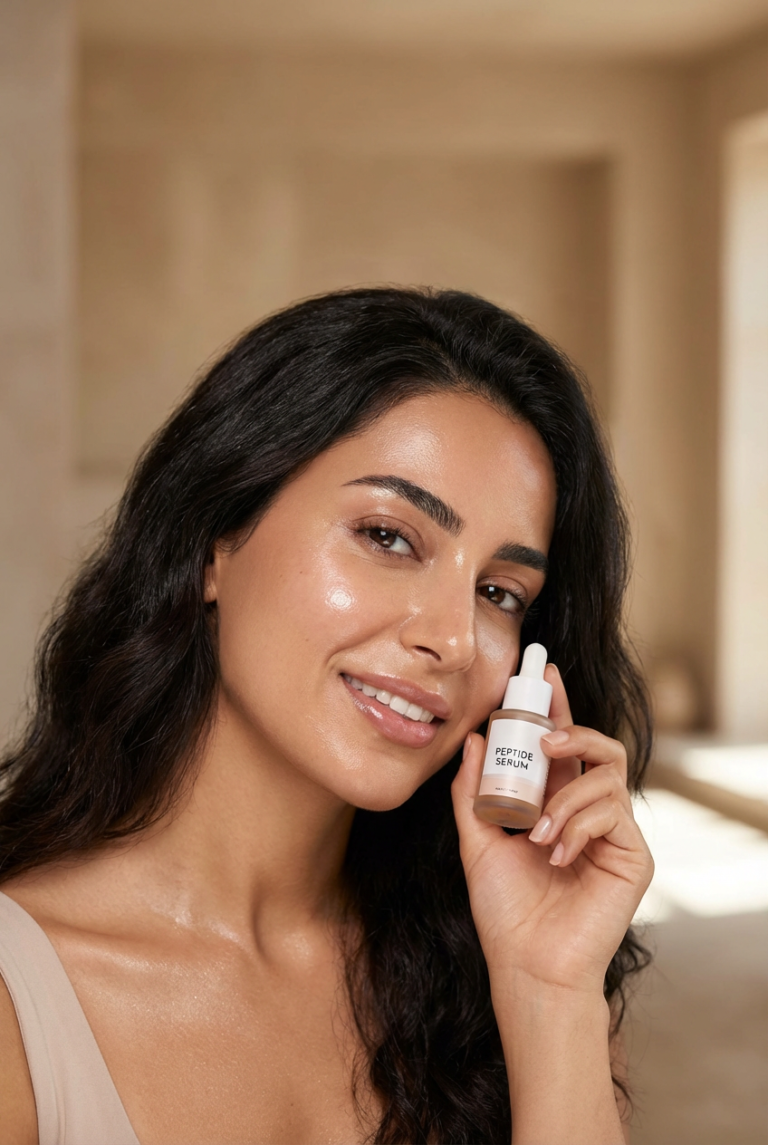
Step 3: Treat with Serum (This Is Where the Magic Happens)
If toners are the opening act, serums are the headliner. These concentrated treatments are packed with active ingredients that target specific concerns – brightness, hydration, texture, you name it. For glass skin, you want to focus on serums that boost hydration and create that luminous glow.
The Beauty of Joseon Glow Serum with Propolis + Niacinamide is probably the most talked-about K-beauty serum right now, and honestly, it lives up to the hype. It has 60% propolis extract (which is incredibly nourishing and has antibacterial properties) and 2% niacinamide to brighten and even out your skin tone. Plus there’s a little bit of BHA for gentle exfoliation.
What I love about the reviews for this product is how many people with sensitive, acne-prone skin rave about it. One person said they’ve had bad acne since they were 14, and after using this serum with the matching essence water for a couple weeks, they went two full weeks without a breakout for the first time in years. Their skin got stronger, more hydrated, and way more balanced.
The texture is slightly sticky at first (which some people love and some people don’t), but it absorbs within a minute and leaves your skin looking noticeably plumper and more radiant.
If you want to double down on hydration, layer the COSRX Advanced Snail 96 Mucin Power Essence underneath the glow serum. Yes, snail mucin sounds weird, but it’s one of the most effective hydrating ingredients in K-beauty. It helps repair your skin barrier, reduces redness, and keeps your skin plump and moisturized all day.
How to apply: Use 2-3 drops of serum and gently press it into your skin using patting motions. The warmth from your hands helps it sink in better than just rubbing it around.
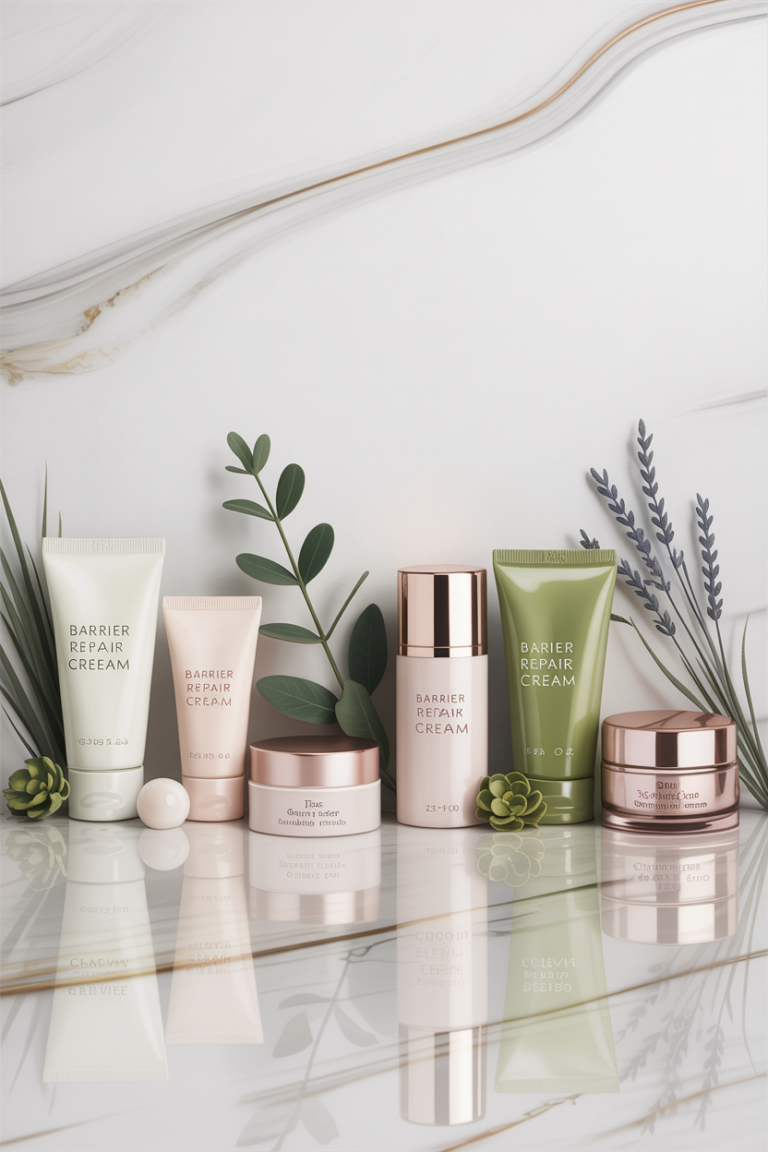
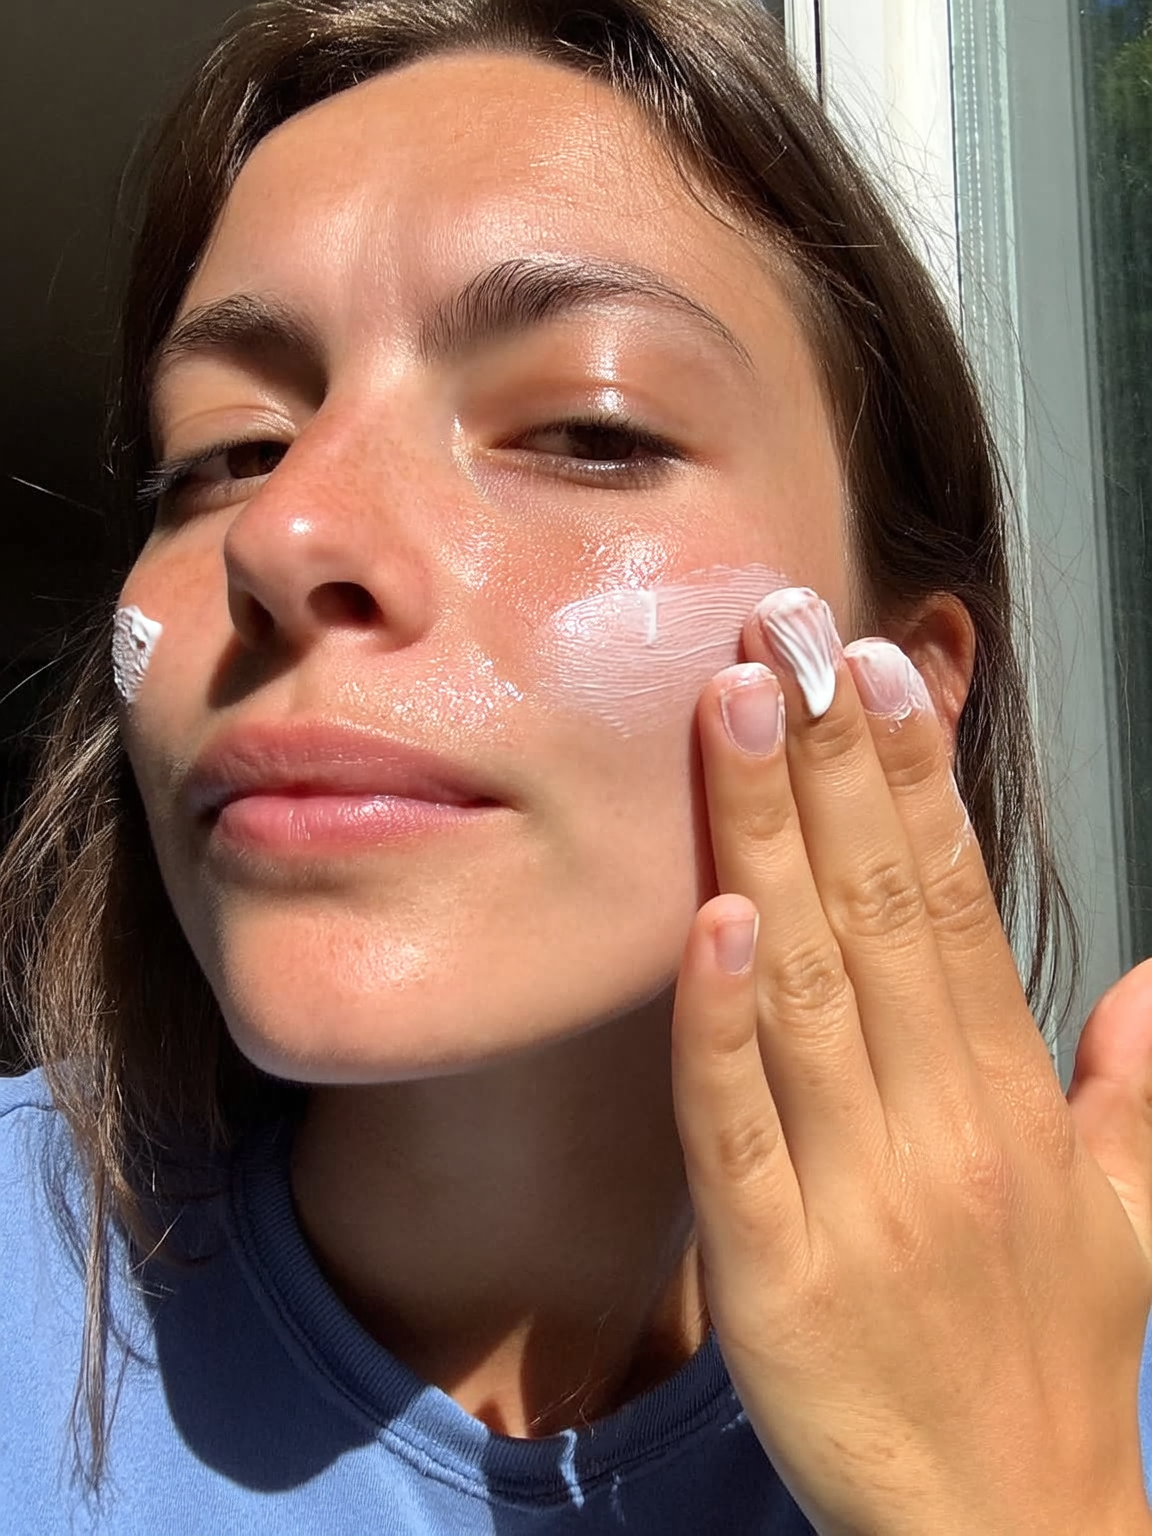
Step 4: Moisturize Like Your Skin Depends on It (Because It Does)
Even if you have oily skin, you need moisturizer. I repeat: even if you have oily skin, you need moisturizer. Skipping this step is actually what makes a lot of people produce more oil, because their skin is trying to compensate for being dehydrated.
For glass skin, you want a moisturizer that’s hydrating but not heavy. The goal is to seal in all the hydration from the previous steps without making your skin feel greasy or clogged.
The COSRX Snail Mucin 92% All in One Cream is a perfect glass skin moisturizer. It’s a gel-cream texture that feels lightweight and absorbs quickly, but it’s still intensely hydrating. The 92% snail mucin does serious work repairing your skin barrier and keeping everything plump and dewy. People with dry, combination, and even acne-prone skin all seem to love this stuff.
If you want something even lighter (especially for daytime or if you have oily skin), the Neutrogena Hydro Boost Water Gel is an excellent option. It’s formulated with hyaluronic acid and has this cool gel texture that literally feels like you’re putting water on your face, but it locks in moisture for up to 24 hours.
Layer it right: If you’re using multiple hydrating products (which you should be for glass skin), always go from thinnest to thickest consistency. So: toner → serum → moisturizer.
Step 5: Lock It All In (We’re Not Done Yet)
Okay, so you’ve cleansed, toned, serummed, and moisturized. Your skin is looking pretty damn good right now. But here’s the secret to taking it from good to glass – you need something to seal everything in.
This is where facial oils or sleeping masks come into play. They create a barrier that prevents all that hydration from evaporating throughout the day (or night), and they give you that final layer of glow.
For daytime, you can skip this step or use just 1-2 drops of a lightweight facial oil mixed into your moisturizer. But at night? Go wild. This is when your skin does most of its repair work anyway, so giving it extra nourishment while you sleep is a game-changer.
The LANEIGE Water Sleeping Mask is an absolute classic for good reason. You apply it as the last step of your nighttime routine, and it works overnight to deeply hydrate and strengthen your skin barrier. People wake up with noticeably plumper, dewier skin. One reviewer said they could actually see the difference in their fine lines after just one use.
Alternatively, you could use a few drops of The Ordinary 100% Organic Cold-Pressed Rose Hip Seed Oil. It’s lightweight, absorbs well, and gives you that subtle glow without making you look greasy.
Night routine tip: If you’re using a sleeping mask, apply it to damp skin (like, right after your moisturizer while your face still has a bit of moisture on it). It seals everything in so much better.
Step 6: SPF Is Non-Negotiable (Yes, Even for Glass Skin)
I saved this for last because technically it only applies to your morning routine, but let me be very clear: you absolutely cannot achieve glass skin without SPF. All that beautiful, glowy, hydrated skin will be for nothing if you’re letting UV rays damage it every single day.
Sun damage causes premature aging, hyperpigmentation, texture issues – basically everything that glass skin is not. Plus, a lot of the ingredients in your glass skin routine (like niacinamide and certain acids) can make your skin more sensitive to sun, so protection is even more important.
The best part about K-beauty sunscreens is that they’ve absolutely nailed the formula. Unlike a lot of Western sunscreens that feel heavy or leave a white cast, Korean sunscreens are lightweight, absorb beautifully, and actually add to that dewy, glass skin look.
The Beauty of Joseon Relief Sun: Rice + Probiotics SPF 50+ is probably the most popular K-beauty sunscreen right now, and for good reason. It feels more like a moisturizer than a sunscreen, with this creamy texture that melts into your skin and leaves a natural, glowy (not greasy!) finish. It works beautifully under makeup too. One reviewer said they’ve tried countless sunscreens over the years and this is the only one they’ve actually repurchased multiple times.
Another great option is the PURITO Daily Go-To Sunscreen SPF 50+. It’s incredibly lightweight with absolutely no white cast (which is crucial if you have a deeper skin tone), and it’s got that signature K-beauty dewy finish that makes your skin look healthy and luminous.
Application tip: Use way more than you think you need. The recommended amount for your face is about a quarter teaspoon (or two finger lengths squeezed out). And reapply every two hours if you’re outside or near windows.
The Glass Skin Mindset: It’s About the Journey
Here’s what I wish someone had told me when I first started trying to achieve glass skin: it’s not going to happen overnight. Glass skin is the result of consistent care, proper hydration (both topically and from drinking water), and being patient with your skin.
Some tips that helped me along the way:
Start slowly. Don’t buy all six steps worth of products and use them all at once. Your skin will freak out. Start with a good cleanser and moisturizer, then add one new product every week or two.
Listen to your skin. If something stings, burns, or makes you break out, stop using it. Glass skin shouldn’t hurt. The whole point is to make your skin healthier, not traumatize it.
Hydrate from the inside. I know, I know, everyone says to drink more water. But seriously – dehydrated skin cannot achieve glass skin no matter how many hydrating products you slather on. Get yourself a big water bottle and actually use it.
Be consistent. The people with the most amazing glass skin aren’t necessarily using the most expensive products. They’re the ones who do their routine every single morning and night, no matter how tired they are.
Adjust for your skin type. These product recommendations are a great starting point, but you might need to swap things around based on whether you have dry, oily, or combination skin. The basic steps stay the same; you just adjust the formulas.
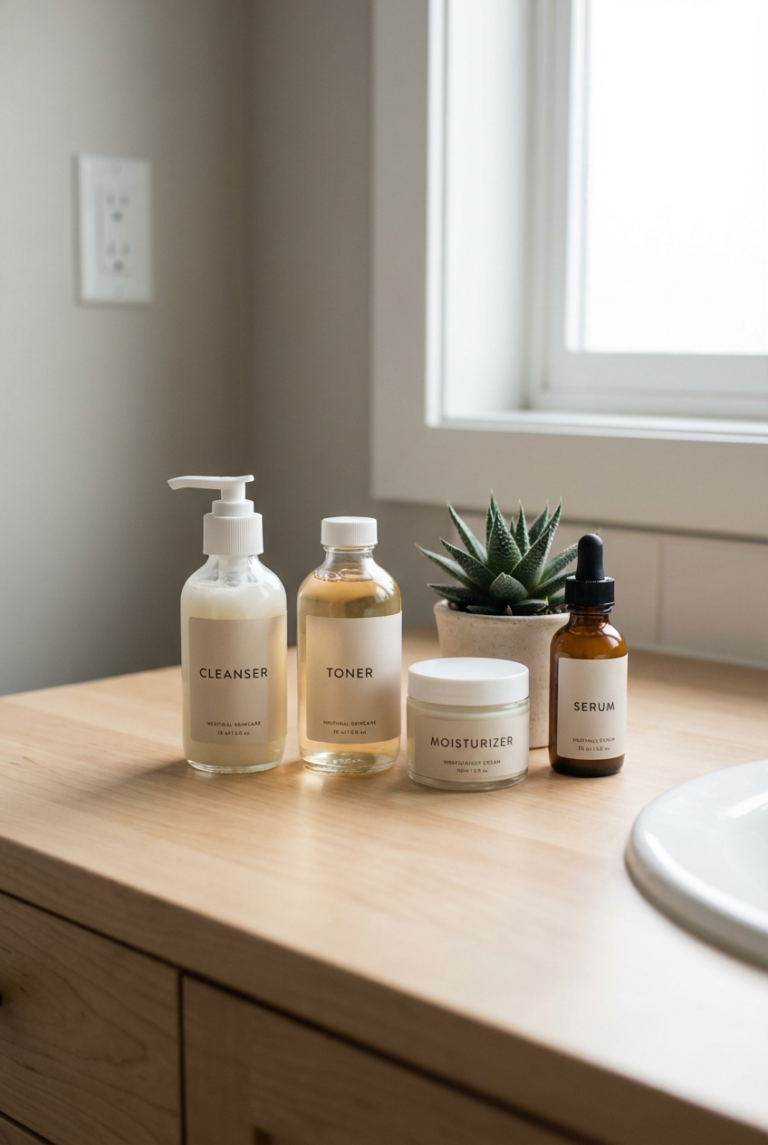
Your Glass Skin Routine Shopping List
To make things easy, here’s a recap of what you need:
Morning:
- Second cleanser (or just splash with water if your skin is dry)
- Hydrating toner/essence
- Vitamin C or brightening serum
- Lightweight moisturizer
- SPF 50+
Evening:
- Oil cleanser
- Water-based cleanser
- Hydrating toner/essence
- Hydrating/treatment serum
- Moisturizer
- Facial oil or sleeping mask (optional but recommended)
The total cost for a full glass skin routine using the products I mentioned ranges from about $100-150, and most of these products will last you several months. Compare that to the price of one or two luxury skincare items, and it’s actually pretty reasonable for a complete routine.
Final Thoughts
Glass skin isn’t about achieving some impossible, airbrushed perfection. It’s about creating the healthiest, most radiant version of your own skin. Some days your skin will glow like a glazed donut. Other days it’ll look more like a regular, human person’s skin. And that’s totally okay.
The K-beauty philosophy of glass skin has taught me to actually enjoy my skincare routine instead of treating it like a chore. There’s something really meditative about taking those few minutes morning and night to just focus on taking care of yourself. Plus, when your skin is properly hydrated and healthy, you need way less makeup to feel confident – which is honestly the best feeling.
So grab yourself some of these products (seriously, start with the cleanser, toner, and sunscreen if you’re on a budget), commit to being consistent, and give your skin a few weeks to adjust. I promise you’ll start seeing that glow.
Now if you’ll excuse me, I need to go pat some snail mucin into my face.
This post contains affiliate links, which means I may earn a small commission if you purchase through my links at no additional cost to you. I only recommend products I genuinely believe in!